Bathroom Plumbing: Plan the Layout, Rough-In and Costs Before the Tile
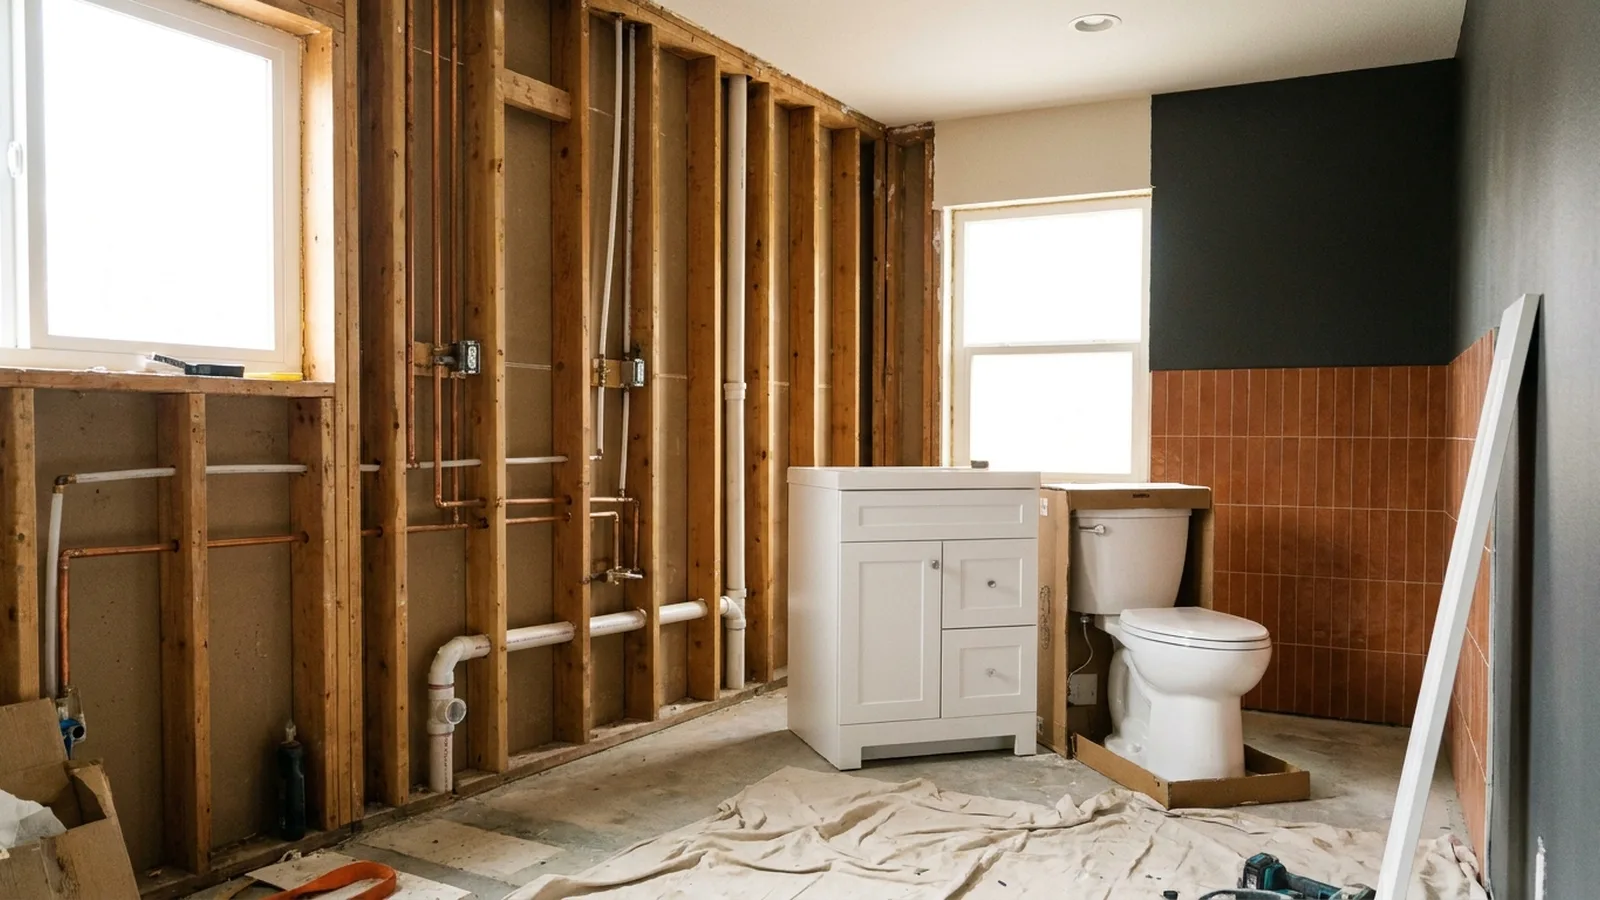
Say a homeowner finishes a gorgeous bathroom design on paper. Walk-in shower, double sink, a toilet tucked by the window. Then the plumber opens the wall, points at the floor joists, and says the toilet drain has nowhere to go without cutting structure. Suddenly the budget has a new line, and nobody budgeted for it.
That scene happens because bathroom plumbing gets decided last, when it should be decided first. Layout drives the bill far more than faucets do. Where the pipes run, how far they travel and whether they sit above or below the sewer line matter more than the finish you pick.
This is one part of planning a full bathroom remodel, and it’s the part that’s hardest to change later. You’ll learn what the system includes, how rough-in works, what changes in a basement, what drives the price, and when to hire out the work. Short version: DIY the pretty stuff, plan the hidden stuff.
Executive Summary
Good bathroom plumbing comes down to three things: a drain that slopes to the stack, a vent that lets that drain breathe, and supply lines that reach each fixture. Get those right on paper and the rest is just fittings.
Here’s what you’ll walk away with. A plain-English map of the system, a layout rule that keeps costs down (stack your wet walls), and a clear look at the basement problem, where drains sit below the sewer line and a pump or a different toilet enters the picture. You’ll also see what pushes quotes up or down, when a permit and inspection are likely, and how to split the work between you and a licensed plumber.
The biggest objection is usually "I can’t price this without a plumber." Fair. Nobody honest can name your number from a blog post, so this guide shows the cost drivers instead, which lets you compare quotes with confidence.
What does bathroom plumbing include?
Bathroom plumbing is three connected systems: supply lines that bring hot and cold water to fixtures, drain lines that carry wastewater out, and vents that let air in so the drains flow. Fixtures sit on top: toilet, sink, and shower or tub. Everything else is just pipe, fittings and shutoff valves joining those parts.
Think of it in two halves. The rough half lives inside walls and floors. The finish half is what you see. Quotes often split the same way, and the rough half holds most of the cost and risk.
A shower needs a valve behind the wall, either pressure-balanced or thermostatic. A sink needs a drain with a P-trap, the curved pipe that holds water and blocks sewer smell. Every fixture also gets its own shutoff, so a leak never means shutting off the whole house.
How do drain, vent and supply lines work together?
Water arrives under pressure through supply lines, but wastewater leaves by gravity. Drains must slope downhill to the main stack, and vents must connect near each trap so air can replace the water leaving. Without the vent, drains gurgle, traps empty and sewer gas slips into the room.
Drains are the fat pipes. A toilet drain is typically 3 inch or larger, a bathroom sink about 1.5 inch, and a shower commonly about 2 inch (check code and the spec sheet), though local code has the final word. Supply lines are skinny by comparison, and the usual materials are PEX, copper or CPVC.
Drain and vent pipes are normally PVC or ABS, depending on what your area allows. Don’t mix and glue them without the right transition cement.
The vent is the part most people miss. It can run up through the roof, join another vent, or in some places use an air admittance valve. Codes disagree on that last one, so ask your inspector before you buy one. Which brings us to the numbers that decide where things go.
What is rough-in, and why do the dimensions matter?
Rough-in is the stage where supply, drain and vent pipes are installed inside the walls and floor before any finishes go on. The dimensions matter because fixtures must line up with those pipe stubs later. A toilet flange set an inch off can mean a rocking toilet or a wall that needs reopening.
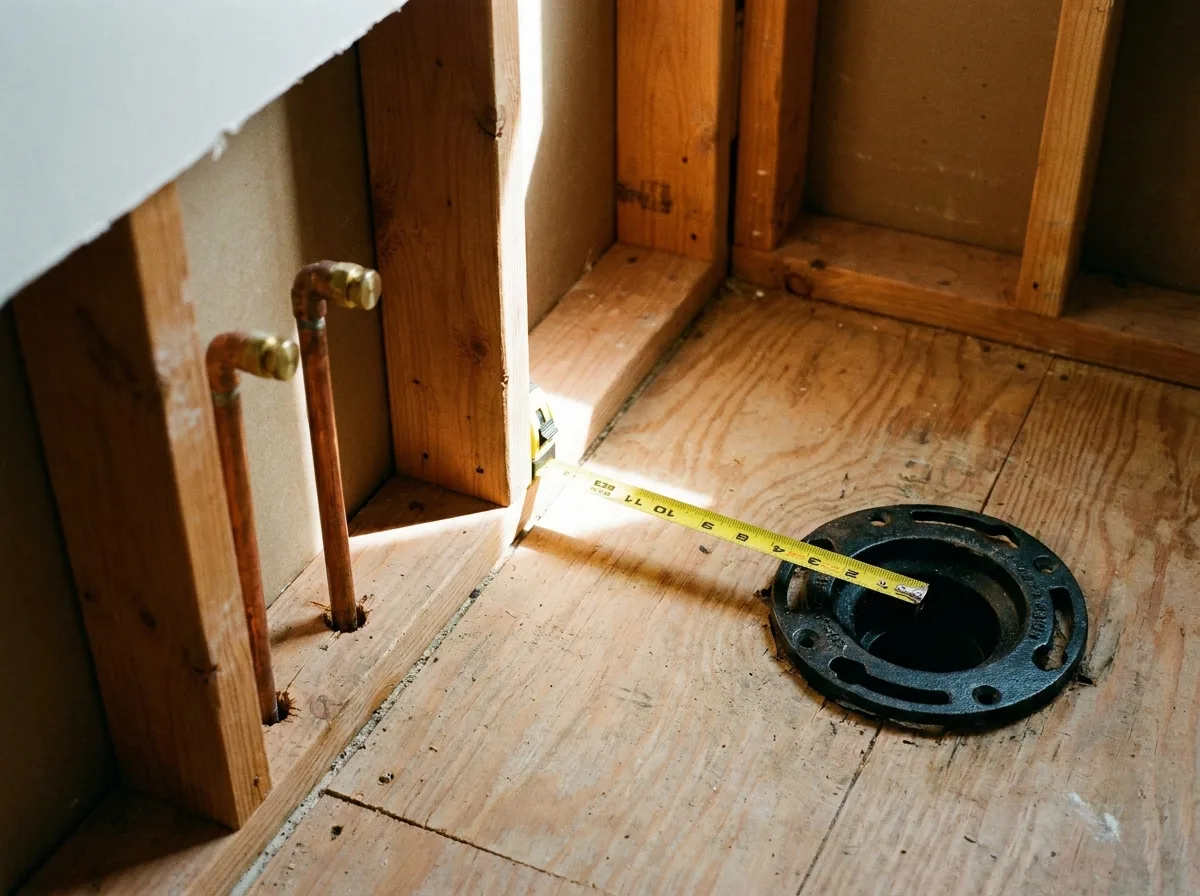
Common starting points, which you should confirm against your fixture’s spec sheet and local code: a toilet flange centered about 12 inches from the finished rear wall, and sink supply lines roughly 21 inches above the floor, about 8 inches apart. Those figures are widely published, including by plumbing reference sites like Hammerpedia, but they’re typical, not universal.
A homeowner picks a toilet built for a 10 inch rough-in because it looks great, then finds the stub at 12. Our guide to toilet dimensions and sizes shows how to check this before you buy.
Same logic for vanities. A wall-mount faucet or an unusually wide cabinet changes where the supply lines should stop, so choose the vanity first. A 48 inch bathroom vanity leaves a very different layout than a double sink.
Where should fixtures go to keep bathroom plumbing cheap?
Keep the toilet, sink and shower on one shared wet wall, close to the existing stack. Short, straight pipe runs mean less material, less labor and fewer places to cut into joists. Moving a toilet across the room is usually the single most expensive layout change.
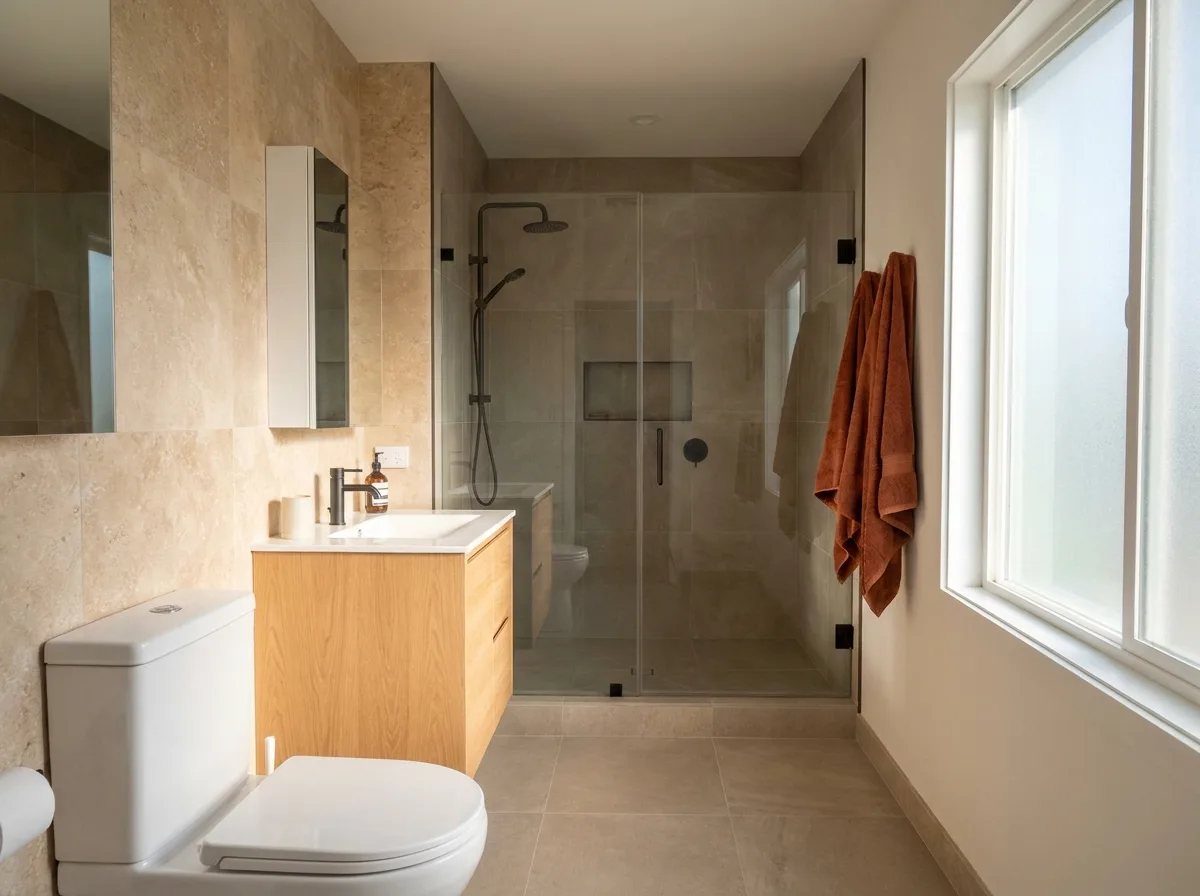
Here’s my slightly contrarian take: fixtures are the cheap part of a bathroom. The expensive part is relocating drains. A pricey toilet that stays put can cost less than a budget one that moves ten feet, because the plumber must open the floor, run a sloped drain and add a vent.
| Layout move | Plumbing effort | Why |
|---|---|---|
| Swap fixtures in place | Low | Existing stubs are reused |
| Move sink along same wall | Low to moderate | Short supply and drain change |
| Move shower or tub | Moderate | Drain slope and floor framing |
| Move toilet to a new spot | High | Large drain, vent, possible joist work |
| Add bathroom far from stack | Highest | Long runs, new vent, often a permit |
I judged these by how much hidden pipe, framing work and venting each one needs. Prices vary by region, so use the table to rank options, not to price them. If you’re also tiling, a shower floor tile plan should wait until the drain location is settled.
How does basement bathroom plumbing work?
Basement bathroom plumbing is harder because drains often sit below the home’s sewer line, and gravity can’t carry waste uphill. You have three main options: cut the concrete slab and run new drains, install an ejector pump system, or use a macerating or upflush toilet.
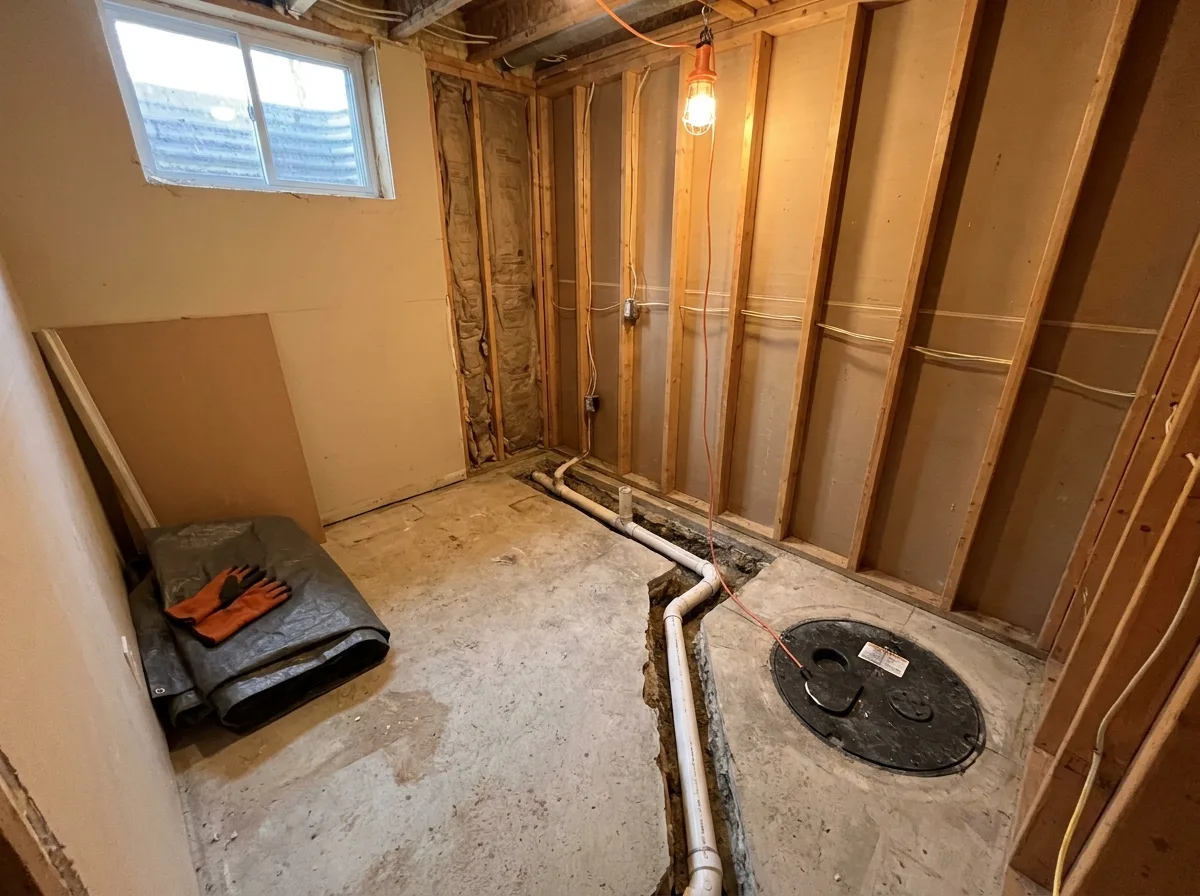
A basement is where bathroom plumbing stops being routine. Say a homeowner wants a half bath for a parent downstairs. The floor is poured concrete, and the sewer line leaves the house higher than the basement floor. Ordinary drains can’t work.
Cutting the slab lets you place drains and a pit properly, but it means breaking concrete, trenching and patching. An ejector system sits in a sealed pit and pumps waste up to the main line. A macerating toilet grinds waste and pushes it through a small pipe, with no digging needed.
I’d say a macerating toilet is not a cheap hack. For a single toilet that may never get a full bath, it can be the smartest call. For a full bath with shower and sink, an ejector pit usually makes more sense. Pumps also fail eventually, so plan access for service.
If the slab hasn’t been poured yet, run the stub-ups beforehand. The cheapest rough-in is the one planned before the pour. Doing it then is usually far quicker than breaking concrete later.
How much does bathroom plumbing cost?
Bathroom plumbing cost depends mostly on distance to the stack, whether you cut concrete or framing, how many fixtures you add, and local labor rates. Moving a toilet or going below the sewer line costs far more than swapping fixtures in place. Always get itemized quotes.
I won’t print a single price, because I can’t verify one that fits your home. Homeowner threads show wide spreads: some people report a few hundred dollars per fixture on simple jobs, others several thousand once slab cutting and a pump enter. Those are anecdotes, not data.
What I can give you is the list of drivers, roughly in order of impact:
- Distance from the fixture to the main stack and the sewer line
- Slab cutting or joist work
- Ejector pump or macerating unit
- Number of fixtures and shower valve type
- Pipe material and local labor rates
- Permit and inspection fees
Then there’s how the estimate is written. Time and materials (T&M) bills the hours and parts, which suits messy jobs with unknowns, like a long run under a crawlspace. A fixed bid gives certainty but should list what happens when walls reveal surprises. Per-fixture pricing is easy to compare, as long as each quote defines what "a fixture" includes.
Two quotes that differ by thousands usually differ in scope, not in honesty. Ask for them line by line.
Do you need a permit and inspection for new pipes?
New or relocated drains, vents and supply lines commonly require a permit and a rough-in inspection. Swapping a faucet or toilet often does not. Rules differ by city and state, so call your local building department before you start, and ask what the inspector wants to see.
Permits feel like paperwork, but the inspection is what protects you. A plumbing inspector checks slope, venting and connections while the pipes are still visible, usually after a pressure test. Your area may follow the International Plumbing Code (IPC) or the Uniform Plumbing Code (UPC), and they differ on details like venting.
Gas lines and sewer connections belong to licensed professionals, no exceptions. Unpermitted work can also cause trouble with insurance claims or when you sell.
Should you DIY the work or hire a plumber?
Hire a licensed plumber for drains, vents, sewer connections and anything inside walls that needs inspection. DIY the finish work, like setting the toilet, mounting the faucet and installing the vanity. That split saves real money without risking the hidden mistakes that are expensive to find and fix later.
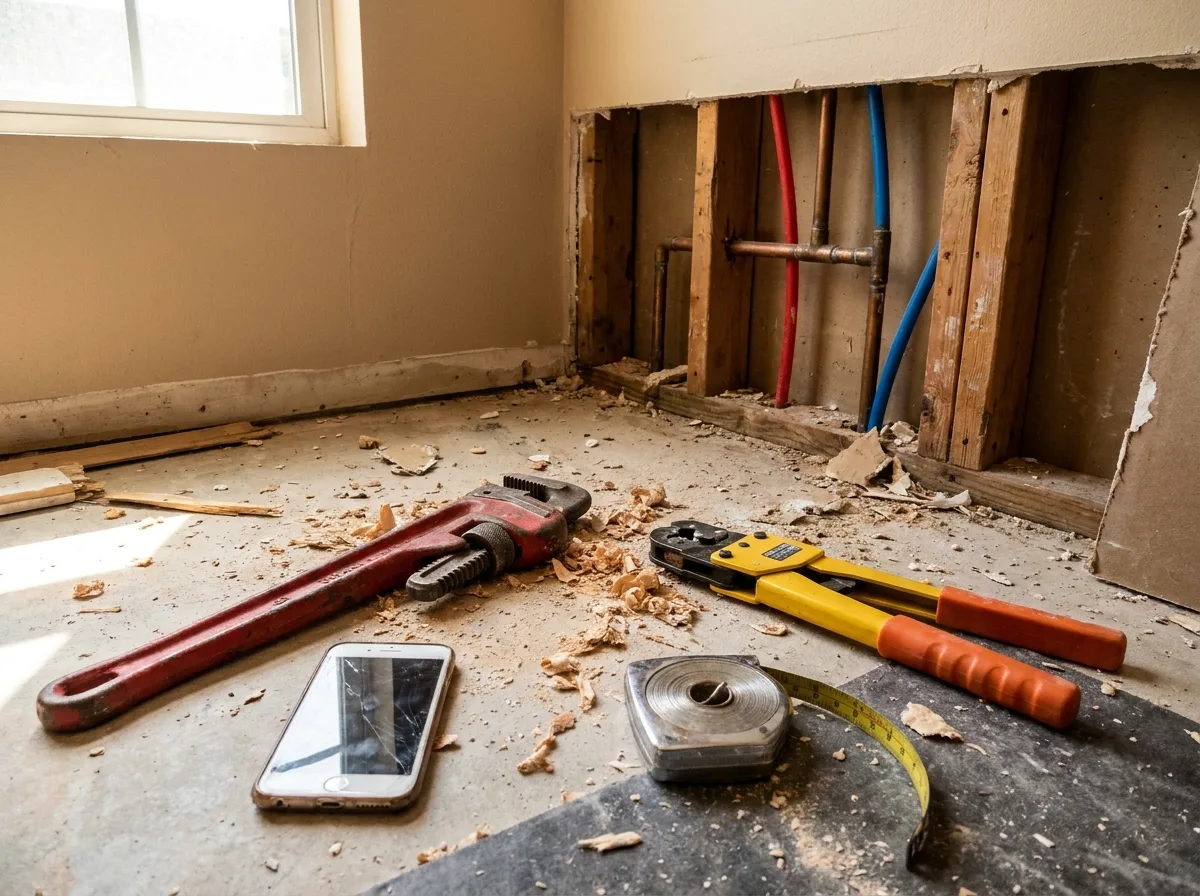
Rough-in errors are the ones you can’t see. One common story: a plumber notches a ceiling joist to fit a drain, and the homeowner learns about it only after drywall. The usual fix is to sister the joist or call an engineer, and many contractors treat it as theirs to fix, so check your contract.
So how do you keep that from happening? Photograph everything before the walls close, and follow this order of work:
- Finalize fixture choices and layout, including the vanity and toilet model.
- Mark joists and framing, then run drain and vent pipes.
- Run supply lines and install shower valves and stop valves.
- Pressure test and schedule the rough-in inspection.
- Photograph pipes with a tape measure showing depth and distance from studs.
- Close walls, then tile, then set fixtures.
Those photos also help future repairs, because you’ll know exactly where not to drill.
Frequently Asked Questions
How much does it cost to rough in a bathroom?
It varies too much for one honest number. Cost depends on distance to the stack, whether the slab or joists need cutting, fixture count and local labor. Simple remodels in place cost far less than relocations or basements. Ask for an itemized quote that lists drains, vents, supply lines, permits and any pump.
Can you add a bathroom anywhere in the house?
Almost anywhere, but cost climbs with distance from the main stack. The drain needs a continuous downhill slope and a vent, so far corners, upper floors and basements all add work. Ideally, place the new bathroom beside or above an existing wet wall. A plumber can tell you quickly whether the run is straightforward or needs framing changes.
How far can a toilet be from the stack?
It depends on your local code, pipe size and venting, so there’s no universal number. Codes limit how far a trap can sit from its vent. Shorter and straighter is always cheaper and clogs less. Before you commit to a layout, ask your building department or plumber to check that distance against your code.
Can you plumb a basement bathroom without cutting the slab?
Yes. An upflush or macerating toilet grinds waste and pushes it up through a small pipe, so no concrete work is needed. These units suit a toilet and sink better than a full bath with shower. They need electricity and occasional maintenance, and the manufacturer’s installation rules apply. Check your local code first.
Do bathroom fixtures need separate vents?
Not always. Codes allow some fixtures to share a vent, and wet venting lets one pipe serve both drain and vent for a nearby fixture. The rules for size and distance differ by IPC and UPC, so a drawing that looks fine can still fail inspection. Have your plumber or inspector confirm the vent plan before the walls close.
What size drain pipe does a shower need?
Showers commonly use about a 2 inch drain, while toilets use 3 inch or larger and bathroom sinks about 1.5 inch. Your local code and the fixture’s spec sheet decide the final size. Undersized drains are slow and prone to clogs, so don’t downsize to save a few dollars. Planning tile? See our shower floor tile ideas.
Is PEX allowed for bathroom supply lines?
Often yes, though some areas restrict or ban certain types. PEX is flexible and goes in quickly. Copper and CPVC are also common, and each has its own tools, fittings and cost. Because rules differ by city, confirm with your building department before you buy materials, and ask your plumber which type they prefer to install and warranty.
Does rough-in plumbing need an inspection?
Usually, yes, when you add or move drains, vents or supply lines. Inspectors want to see the pipes before drywall covers them, often after a pressure test. Simple fixture swaps typically don’t need one. Call your local building department and ask what they require, because rules differ widely.
How long does bathroom plumbing take?
For a standard bathroom, rough-in time varies with scope, plus waiting for the inspection. Basements, slab cutting and relocated stacks take longer. Delays usually come from scheduling inspections and hidden surprises, not the pipe work itself. Build in buffer time, especially if tile and drywall crews are waiting behind the plumber.
Myth: does a new bathroom mean replacing all the pipes in the house?
No. A new bathroom usually ties into the existing supply and drain lines nearby. Only old, corroded or undersized pipes might need upgrading, and a plumber can check that when the walls are open. Planning a tub upgrade too? Our garden tub guide covers the space and plumbing it needs.
Conclusion
The tile gets the photos, but the hidden pipes decide whether your bathroom plumbing project stays on budget. Remember the homeowner from the intro? Their dream layout hit trouble because nobody checked the drain path first. Do that check early and the surprise never arrives.
The core idea is simple: keep wet walls stacked, plan basement drainage before you pour or cut, get itemized quotes, and photograph everything before the drywall goes up. If your project involves a basement, learn the pump and macerating options before you start.
Your next step is to sketch the layout, measure to the stack, and call your building department with one question about permits. Then read about choosing the right toilet size.
So what would you move in your bathroom if you knew exactly what it would cost?