Wallpaper Bathroom: What Holds Up and What Peels
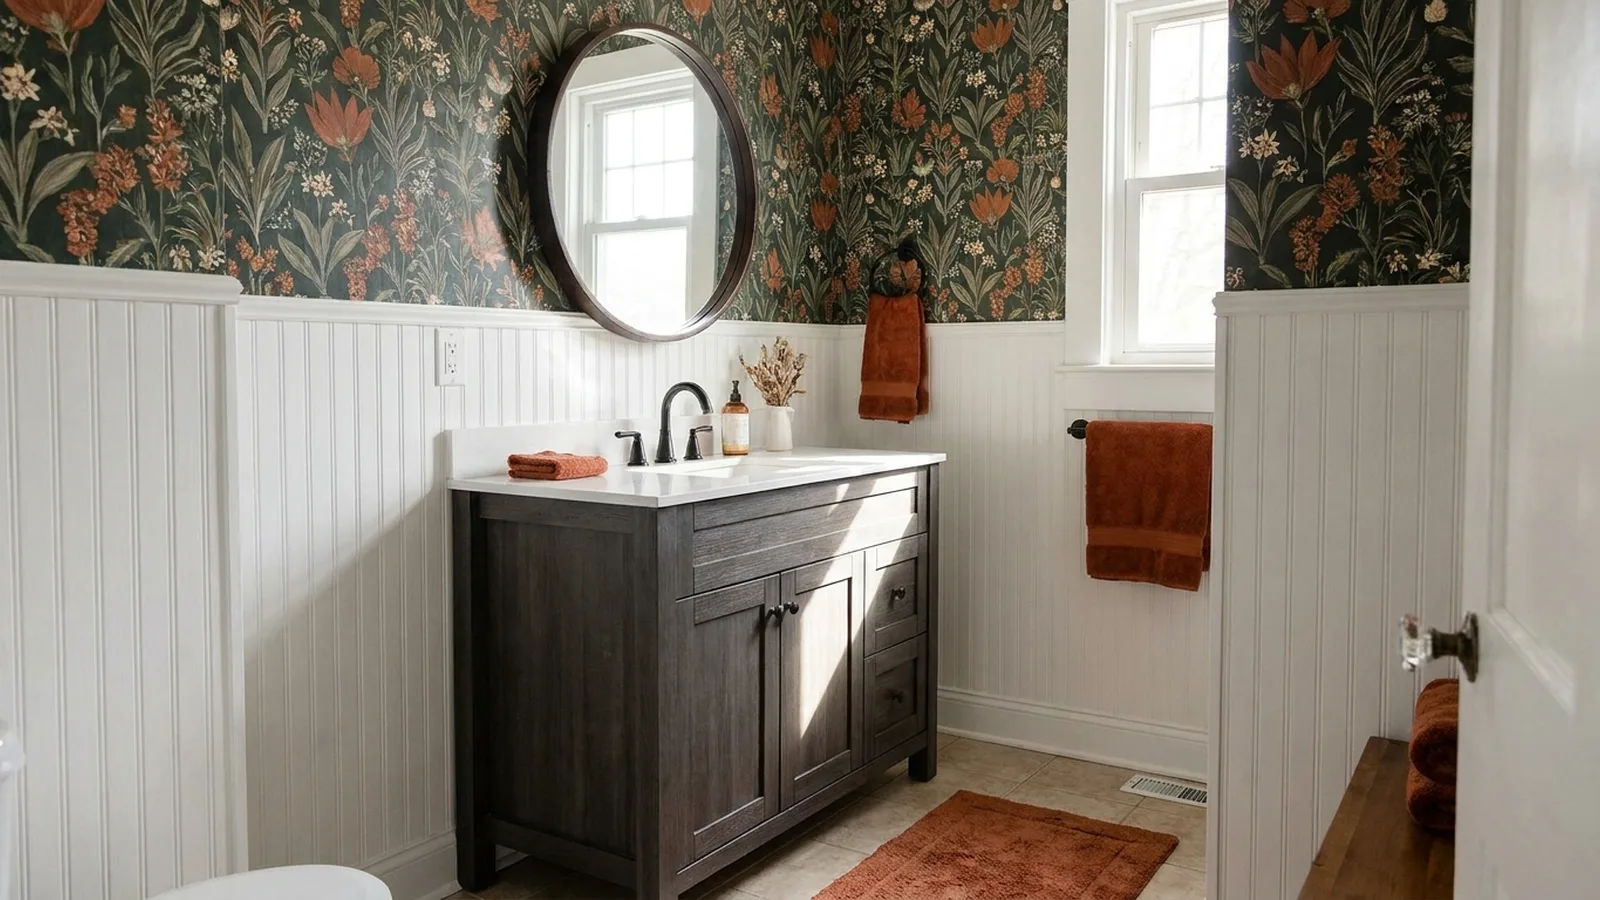
Say you fall for a gorgeous floral roll, spend a Saturday hanging it in the guest bath, and love it for exactly one winter. Then a corner lifts. A seam curls near the shower. By spring there’s a gray freckle behind the toilet, and you’re scraping paper off drywall with a butter knife and a bad attitude.
That story is common, but it isn’t inevitable. A wallpaper bathroom can last for years when the room, the paper and the prep match. It fails when one of the three is wrong, and the paper itself is usually the least guilty party.
So is wallpaper in a bathroom smart or reckless? Honestly, it depends on your fan, your shower and your walls. This guide is one small piece of planning a full bathroom remodel, and it gives you the honest version: what survives steam, what it costs, how to fix peeling, and the removal problem nobody mentions at the checkout.
Executive Summary
You’ll leave knowing whether a wallpaper bathroom suits your home, which material to buy, and what to do before the first strip goes up. Most retailer pages skip the awkward parts, so here they are in plain view.
The short version: vinyl and vinyl-coated papers handle humidity best, peel-and-stick is a fair gamble in a well-ventilated room, and prepasted paper can reactivate in steam. Powder rooms are the easy win. Shower walls are the no-go zone. Prep decides more than price does, and the primer under the paper decides how miserable removal becomes later.
Costs here are illustrative, because most public numbers come from retailers or single anecdotes. The one hard number is from the EPA: keep indoor humidity below 60 percent, ideally 30 to 50 percent. Won’t it just peel? Only when moisture wins.
Is a wallpaper bathroom a bad idea?
No, but it’s a bad idea in the wrong bathroom. Wallpaper works in powder rooms and well-ventilated full baths, outside the direct splash zone. It struggles in windowless rooms with a weak fan, on shower walls, and over damaged or unsealed surfaces. Humidity, not style, decides whether it lasts.
Homeowner threads about a wallpaper bathroom split sharply. Some people report paper holding for six years in a full bath with a new exhaust fan. Others call it a mistake they’d never repeat, mostly because of removal.
Both camps are right. The winners have airflow and a clean, sealed wall. The losers hung paper on a wall that was already damp.
Ask yourself one question first: does the room get dry between showers? If the mirror stays fogged for an hour, fix that before you shop.
Which materials survive steam?
Vinyl and vinyl-coated wallcoverings survive steam best, because the plastic surface sheds moisture. Peel-and-stick vinyl is the budget option, traditional paper is the riskiest, and non-woven falls in between. "Waterproof" on a label usually means water-resistant, not shower-proof, so read the fine print on every wallpaper bathroom product before buying.
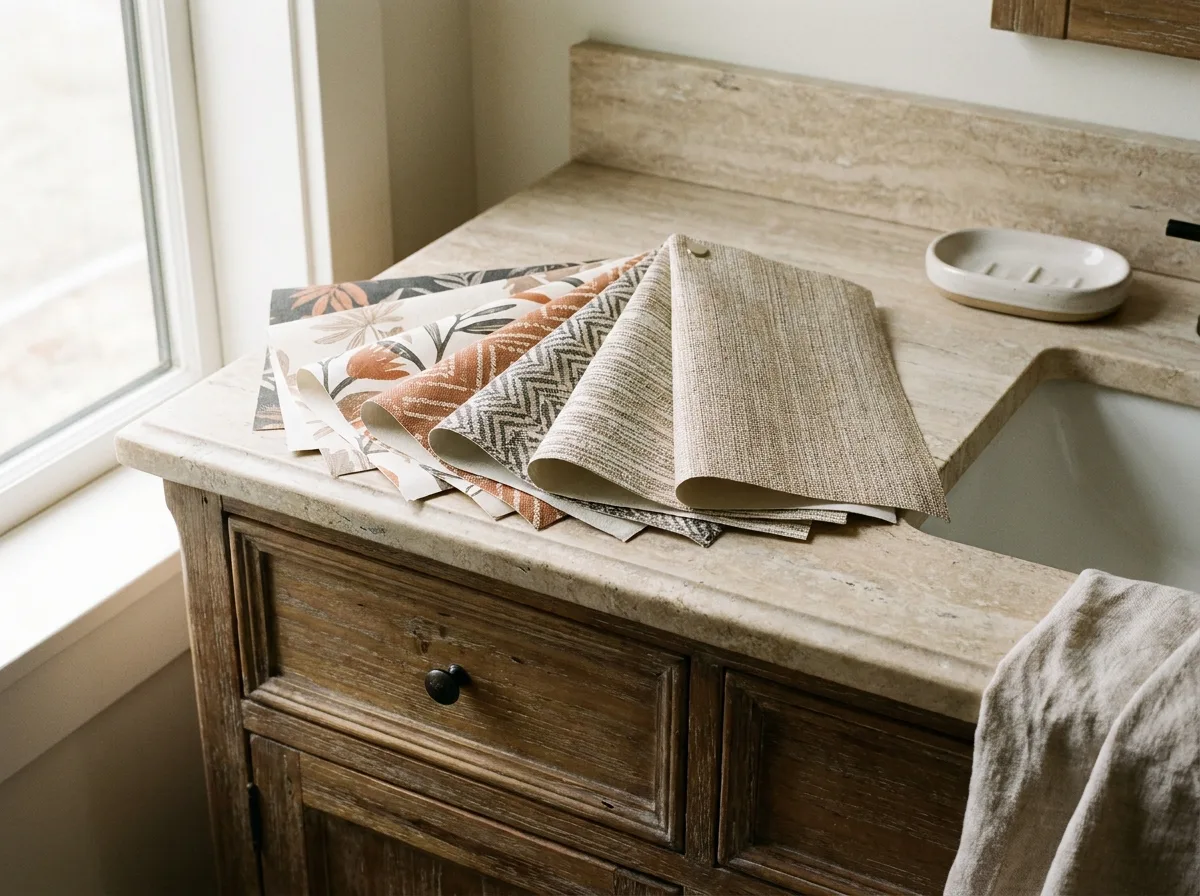
Here’s how the main types compare. This is a general trade pattern, not a lab test, and results vary by brand:
| Type | Steam tolerance | Install | Removal (commonly reported) |
|---|---|---|---|
| Vinyl or vinyl-coated | Best | Paste the wall or prepasted | Varies with wall prep |
| Non-woven | Middle ground | Paste the wall | Varies with wall prep |
| Peel-and-stick vinyl | Fair, varies by brand | Easiest | Easier, but some brands lift paint |
| Traditional paper | Poor | Needs paste, patience | Often slow |
Vinyl wallpaper for bathroom walls is my default recommendation. It wipes clean and forgives splashes. Skip natural fibers like grasscloth in a bathroom, since they tend to dislike moisture.
On lifespan, retailers quote anywhere from a few years for budget peel-and-stick to a decade or more for commercial vinyl. Treat those years as sales talk, not a warranty.
Prepasted deserves a warning. Several homeowners report that the factory adhesive can reactivate in steam, so a paste-the-wall vinyl may hold better than the "easier" prepasted roll. Peel-and-stick has its own limit: uncoated versions are a poor fit, and a few answers say they fail once humidity stays high. Test a scrap taped near the shower for a week.
Which wallpaper bathroom setup fits your room?
Match the paper to the room type. Powder rooms tolerate nearly anything, a full bath with a working fan suits vinyl, windowless baths need vinyl plus serious ventilation, and shower walls should skip paper entirely. Choose the room first, then the pattern.
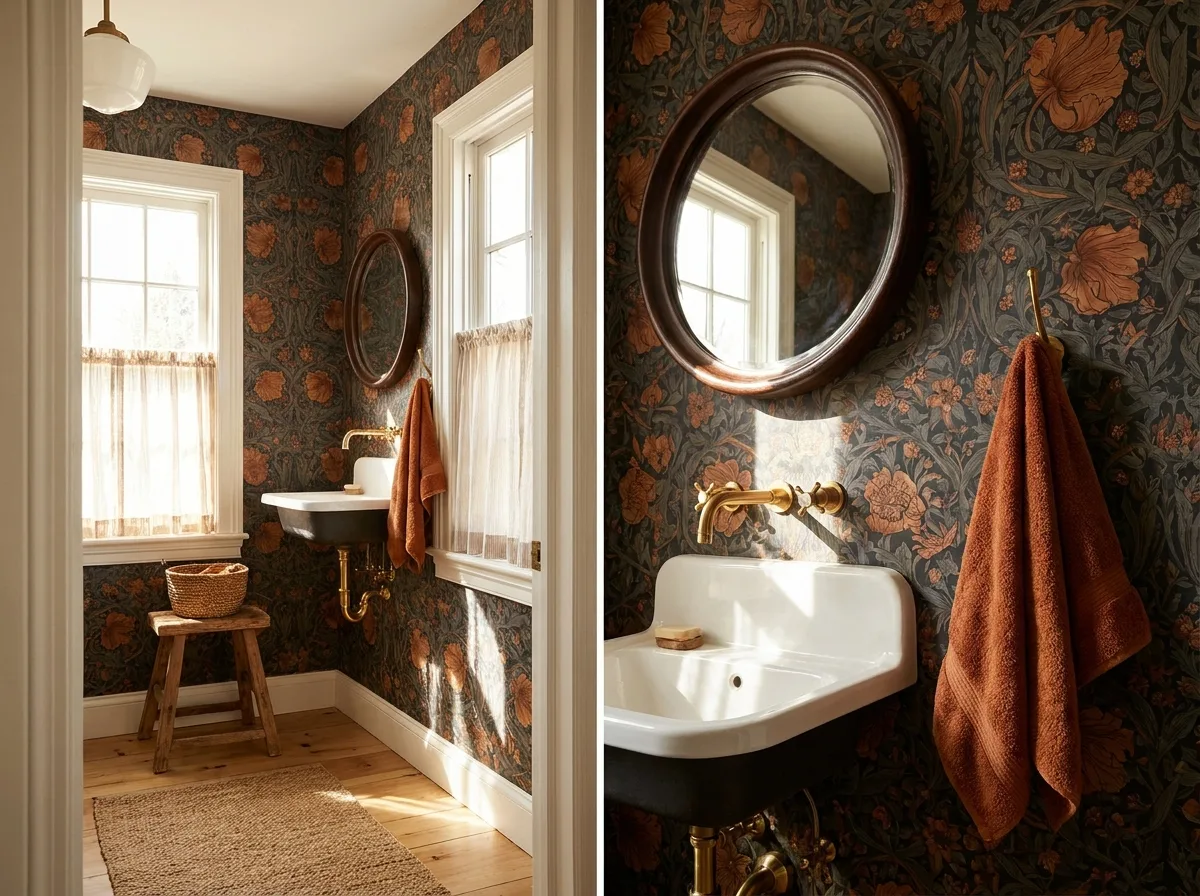
Use this decision table as a starting point. It’s a judgment call based on moisture exposure, not a lab result.
| Room | Best pick | Risk level | Notes |
|---|---|---|---|
| Powder room or half bath | Vinyl, non-woven, even quality paper | Low | No shower steam, so you get the most freedom |
| Full bath with fan and window | Vinyl, paste-the-wall | Medium | Run the fan during and after showers |
| Windowless full bath | Vinyl only, sealed wall | High | Fan must be strong and actually vented outside |
| Shower or tub surround | None | Very high | Use tile or waterproof paneling for shower walls |
A tiny powder room is the best place to experiment. A bold print is a small commitment there, and it also pairs well with a compact 48 inch bathroom vanity in a larger half bath. Planning the layout around a toilet? Check the standard toilet dimensions first so your pattern lands where you want it.
What does a wallpaper bathroom cost?
For a wallpaper bathroom, expect the paper to be the smaller part of the bill when you hire help. Rolls vary widely by material and brand, labor depends on your area and wall condition, and prep adds time or money. Budget for paper, primer, tools, 10 to 20 percent extra and possibly a pro.
Public pricing is thin, so here’s what exists. One retailer lists bathroom rolls from roughly $125 to $275 each, which is premium territory, and cheaper options exist. A homeowner in one thread described about $1,200 for labor, about $500 for paper and $200 for wainscoting. That’s one anecdote, not an average.
Here’s a clearly hypothetical example for a small powder room, not a quote. Say the paper runs a few hundred dollars across three or four rolls, primer and supplies add a modest amount, and an installer charges a day rate for prep and hanging. In that picture, labor can easily match or exceed the paper, and a premium roll pushes the total up fast. Your own numbers will differ by area and wall condition.
A rough way to think about it:
- Paper: driven by material, brand and how many rolls your walls need.
- Extras: primer, paste, a seam roller, caulk and a sharp blade.
- Waste: buy 10 to 20 percent extra so pattern matching doesn’t strand you short.
- Labor: driven by prep, ceiling height and pattern repeat.
My opinion: with expensive paper, pay the installer. A $40 mistake on cheap peel-and-stick is a lesson. A seam error on a premium roll hurts.
How much ventilation does a wallpaper bathroom need?
A wallpaper bathroom needs an exhaust fan that vents outside, runs during showers and keeps running for a while afterward. The EPA advises keeping indoor relative humidity below 60 percent, ideally between 30 and 50 percent. A fan that only moves air into the attic doesn’t solve the problem.
Think of the fan as the real wallpaper protection. Run it through the shower and for a good stretch afterward, and crack the door or window when you can. A cheap hygrometer shows you whether the room actually drops back toward that range.
If the fan is weak, noisy or vents into the attic, upgrading it is worth more than any premium roll. Fan wiring and ducting can involve electrical work, so hire a licensed pro, get a permit where required, and remember that local codes vary.
How do you prep the walls so it doesn’t peel?
For any wallpaper bathroom, prep means a clean, smooth, sealed wall. Repair holes, sand rough spots, wash off soap and grime, apply a bonding primer or wallpaper sealer, and let everything dry fully. Skipping the primer is the most common reason paper fails or becomes impossible to remove.
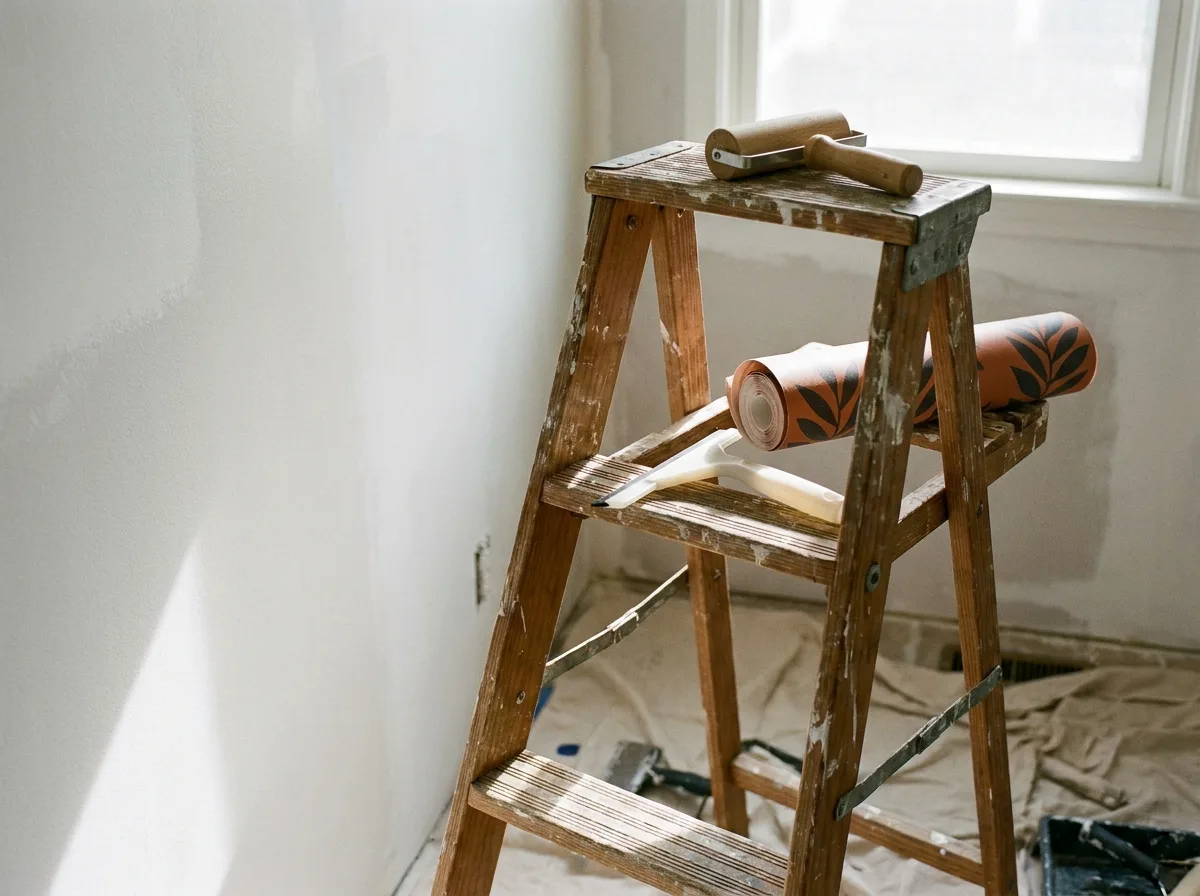
The wall underneath decides success. Smooth painted drywall is ideal. Heavily textured walls, laminate or glossy surfaces fight adhesion, and old plaster may need skim coating before anything sticks.
Here’s the order, with a realistic time budget of one to two days for a small room, including drying:
- Fix leaks and moisture sources first.
- Patch, sand and wipe the walls clean.
- Apply primer or sealer, then wait for it to cure.
- Mark a plumb line so your first strip hangs straight.
- Hang, smooth with a squeegee, trim and seal the edges with caulk.
Yes, that’s a lot of steps for "just wallpaper." The priming step is the one you’ll be glad you didn’t skip.
Why is my bathroom wallpaper peeling or moldy?
In a wallpaper bathroom, peeling usually points to moisture, not bad luck. Common causes are steam from poor ventilation, a leak behind the wall, an unsealed surface, or prepasted adhesive reactivating. Diagnose the source before replacing anything, or the new paper will fail the same way.
A common version of this mistake: a homeowner reglues a lifting seam three times, never noticing the wall is damp behind it. The real culprit was a leaking shower tile joint. Check for leaks, including around fixtures and any bathroom plumbing lines inside the wall.
Quick diagnosis:
- Peeling near the shower: steam or splash.
- Peeling at one spot: likely a leak.
- Corners lifting everywhere: poor prep or low-quality adhesive.
- Dark spots: mold, which can stain permanently.
If you see widespread mold or suspect a hidden leak, call a qualified licensed pro, since plumbing repairs may need permits and codes vary by area. Small surface spots on vinyl can be cleaned, but mold inside the wall needs real remediation.
Can you paint over it, and what about removal and resale?
Painting over bathroom wallpaper is usually a trap. Humidity can make it bubble, and it makes removal much harder. Removal difficulty depends on the paper type and whether a primer went underneath. Some buyers dislike wallpaper, so choose a pattern you can live with.
Here’s the contrarian truth: the cheapest wallpaper decision is the one you make before hanging it. Primer under the paper generally makes removal easier. No primer can mean pulling the drywall paper off with it.
Steamers, scoring tools and patience are the usual removal kit, and old homes can take weeks. Quora answers also warn that painting needs an oil-based or shellac primer to block stains, which is plenty of work for something you were trying to avoid.
For resale, a neutral or small-scale pattern is a safer bet than a loud one. Keep a leftover roll in the closet in case of repairs.
Which wallpaper bathroom styles look best?
Style follows room size and light. Small baths suit light backgrounds and small-scale patterns, windowless baths handle dark moody prints, and powder rooms can go bold. Stone-look, geometric, botanical, coastal and classic toile all work in vinyl, so any wallpaper bathroom style is possible if the material is right.
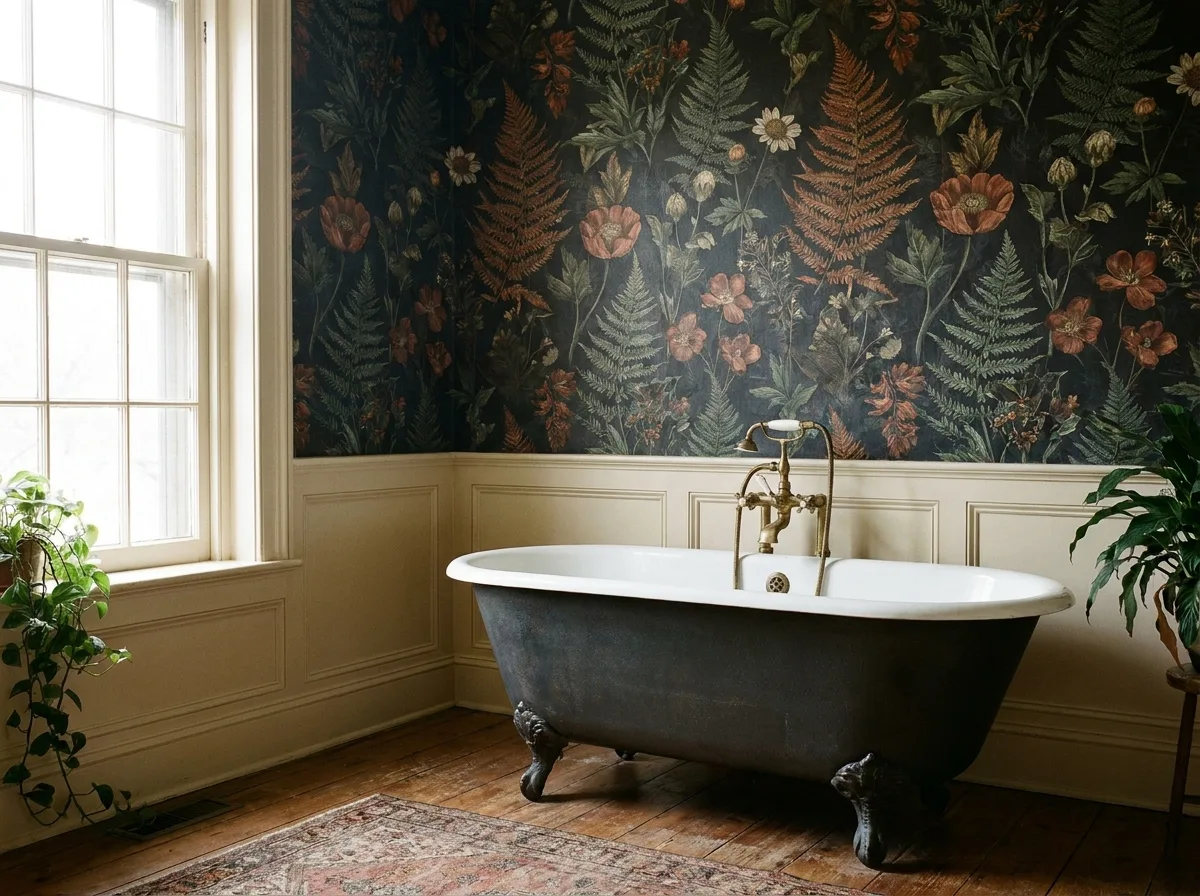
Many people want to know which look feels "expensive." My answer: scale and restraint. One bold wall or a ceiling covering often looks richer than four walls of busy print. Ceiling wallpaper takes less direct splash than a shower wall, though steam still reaches it, so the fan matters.
Pair paper with a lower wall treatment. Wainscoting or beadboard below, paper above, protects the splash zone.
Frequently Asked Questions
Can you put wallpaper in a bathroom with a shower?
Yes, a wallpaper bathroom with a shower works on walls outside the direct spray. Vinyl or vinyl-coated paper in a ventilated bathroom is the safest choice. Keep paper away from the tub or shower surround, because direct water will lift seams. If your shower sits in the middle of the room, use tile or panels there and paper on the farthest wall.
Is bathroom wallpaper waterproof?
Mostly no. Labels say waterproof, but most products are water-resistant, meaning they handle splashes and humidity, not constant soaking. That’s the big myth to ignore: waterproof wallpaper does not mean shower-proof. Wipe off droplets, run the fan, and keep paper out of the spray zone.
Can I use peel-and-stick wallpaper in a bathroom?
Sometimes. Vinyl peel-and-stick can work in a ventilated bathroom, but uncoated versions struggle, and high humidity can loosen the adhesive. Test a scrap first. It’s also not always renter-safe, because some brands lift paint on removal.
How much wallpaper do I need for a bathroom?
Measure wall width and height, calculate coverage from the roll size on the label, then add 10 to 20 percent extra. Patterns with large repeats waste more paper. Subtract doors and windows only if the openings are big. A little leftover is useful for repairs, so don’t try to buy exactly what you need.
How long does bathroom wallpaper last?
It depends on ventilation, material and prep. Retailers quote anywhere from a few years for budget peel-and-stick to a decade or more for commercial vinyl, but those are vendor claims. Some homeowners report six years or more in a well-ventilated room. Treat lifespan as a range and plan accordingly.
Can you wallpaper a bathroom ceiling?
Yes, and it often works well. Ceilings get less direct water than shower walls, though warm steam still rises. Use vinyl, prime the surface and make sure your exhaust fan works. It’s a fun way to add pattern without crowding the walls, but hanging overhead is awkward, so get a helper.
How do you clean bathroom wallpaper?
Wipe vinyl gently with a damp soft cloth and mild soap, then dry it. Skip scrubbing and harsh chemicals, which can dull the surface or lift seams. Traditional paper should not be soaked. Check the care label first.
How do you remove mold from bathroom wallpaper?
Small surface spots on vinyl can be wiped with a mild cleaner, but mold that has soaked into paper or the wall behind it usually means the paper has to go. Find and fix the moisture source first. If the patch is large or keeps returning, hire a qualified pro, since mold can stain permanently.
Is bathroom wallpaper trending?
It looks that way in retailer collections, where bold botanicals and moody darks show up often in powder rooms. That’s an observation, not survey data. Trends shift, though, so pick a pattern you’ll still enjoy in five years. Neutral backgrounds with a subtle print are the safest bet for both daily life and a future sale, because buyers rarely love a very loud wall.
Do I need to test a wallpaper sample first?
Yes, always. Tape a sample near the shower for a week and watch for curling, color change and adhesive creep. Check the color in your bathroom light too, since store lighting lies. A sample costs little compared with a bathroom’s worth of paper, and it answers the humidity question honestly.
Conclusion
A wallpaper bathroom isn’t reckless, it’s conditional. Vinyl, a working fan, sealed walls and a clear line away from the shower turn a risky idea into a reasonable one. Get those right and the pattern is the easy part.
Back to the hook: that peeling corner wasn’t the paper’s fault. It was moisture, and it was predictable. Fix the room first, prime the wall, and decide on removal before you commit.
Your next step: tape a sample up this week and run the fan. If you’re planning bigger changes, read our guide to planning a bathroom remodel or see what works instead on shower walls. So, which wall in your bathroom would you trust with a pattern?