Mimosa Bar Ideas That Look Great and Keep the Bubbly Flowing
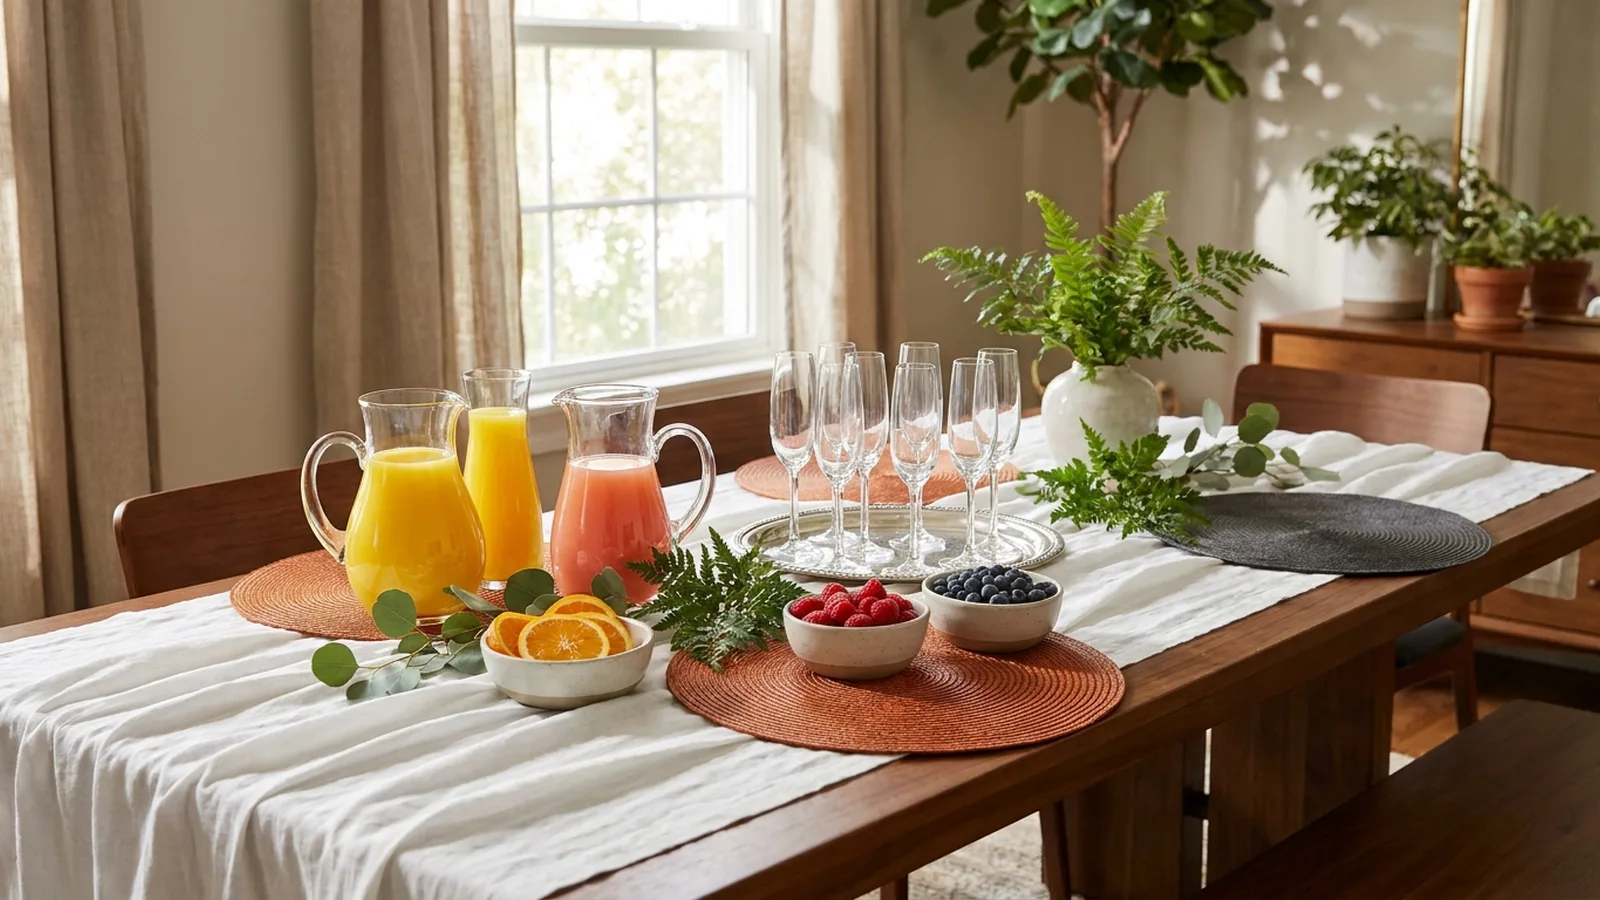
Say you’re hosting a bridal shower for 20 at home. The bubbly is chilling, the orange juice is open, and then you notice that every guest is queued up at the kitchen counter, pouring warm juice into mismatched glasses. The drinks are fine. The moment is not. A mimosa bar should feel like a little party centerpiece, not a spill zone.
Most guides hand you a recipe and stop there. Recipes are the easy part, because a mimosa is one part juice and one part bubbly, and nobody needs a tutorial for that. What trips hosts up is the station itself: where it sits, how it stays cold, how many bottles to buy, and what happens when the bubbly runs out at 11:40.
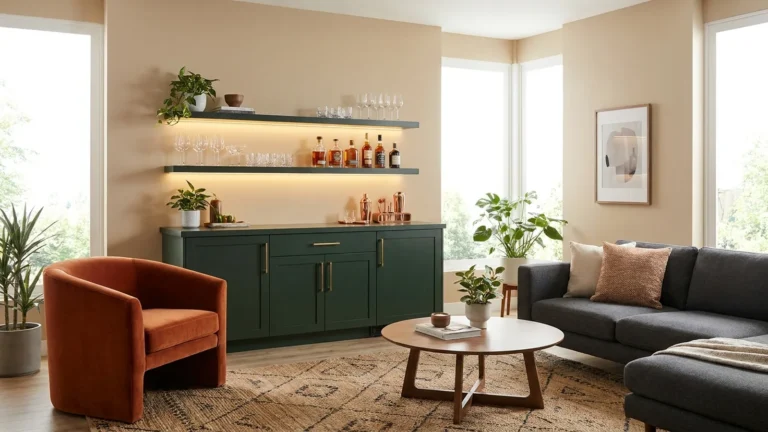
This guide treats your setup as part of your home’s design, with a cost table, layout ideas and a few fail-proofing tricks. If you already love planning a home bar for any space and budget, this is its brunchy cousin. Adults 21 and older only, please.
Executive Summary
You can build a good-looking mimosa bar for a small group without much money or fuss. The trick is to design the station first and the drink menu second. A tray, a tablecloth that hides an ice chest, three juices and a few garnishes will beat a cluttered table of ten options every time.
Hosts commonly plan about one 750 ml bottle for every three guests, so the budget math is easy to run before you shop. Brut prosecco or cava is the smart buy, and real Champagne is optional. A self-serve station works best when you add a non-alcoholic lane, and a bartender pouring the wine can beat pure self-serve at larger events.
The usual worry is "will it look tacky or cost too much?" Neither has to happen. A tidy, labeled, well-chilled station looks deliberate, and the cost table shows you the real range by guest count.
What goes on a mimosa bar?
A mimosa bar needs four things: chilled sparkling wine, two or three juices, a few garnishes and the right glasses. Add a sign so guests know what to do, plus napkins and a place to set down empties. Everything else, from fancy stands to fruit ice cubes, is styling that makes the station look planned.
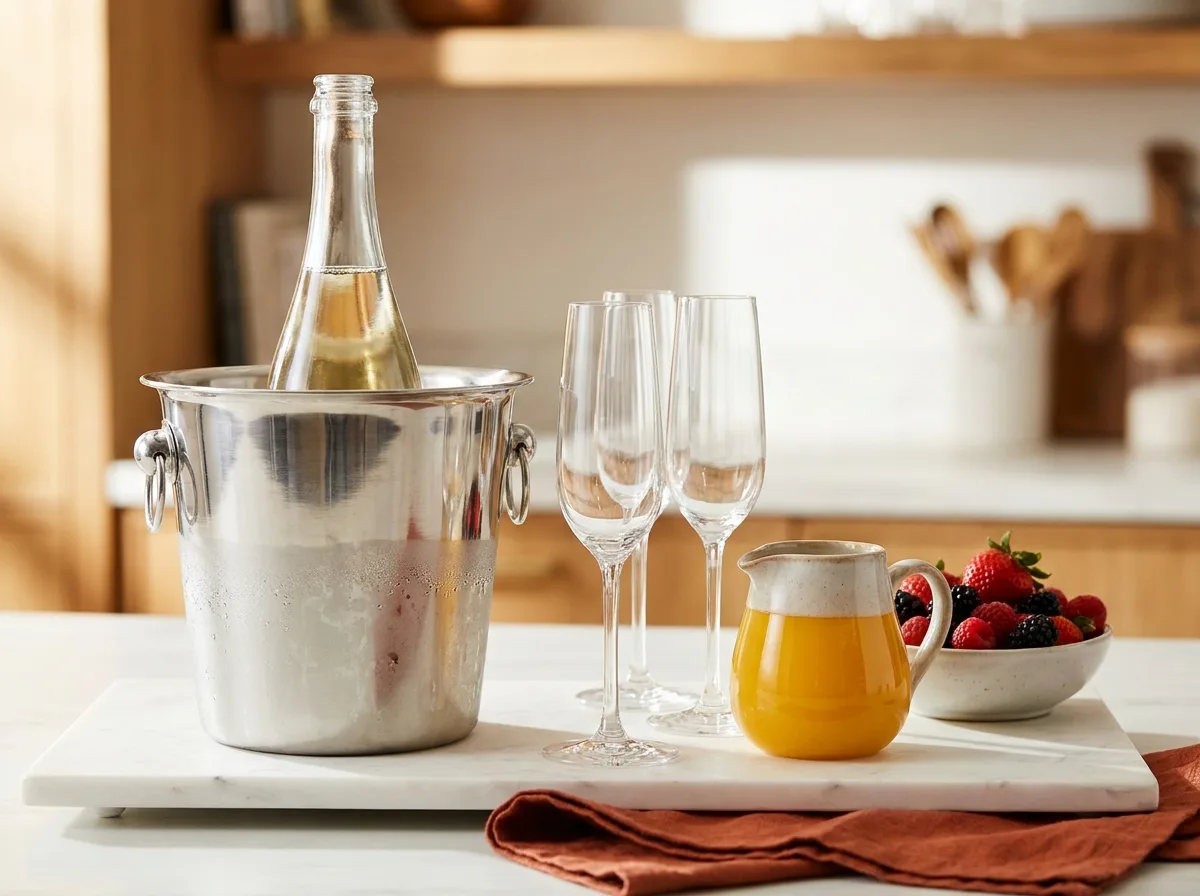
Think in layers: bubbly first, then juice, then garnish. Hosts often add an orange liqueur such as triple sec, which gives the drink more body, though it’s optional.
Fewer choices feel more generous. Three juices look curated. Eight look like a cluttered shelf.
How do you set up a mimosa bar step by step?
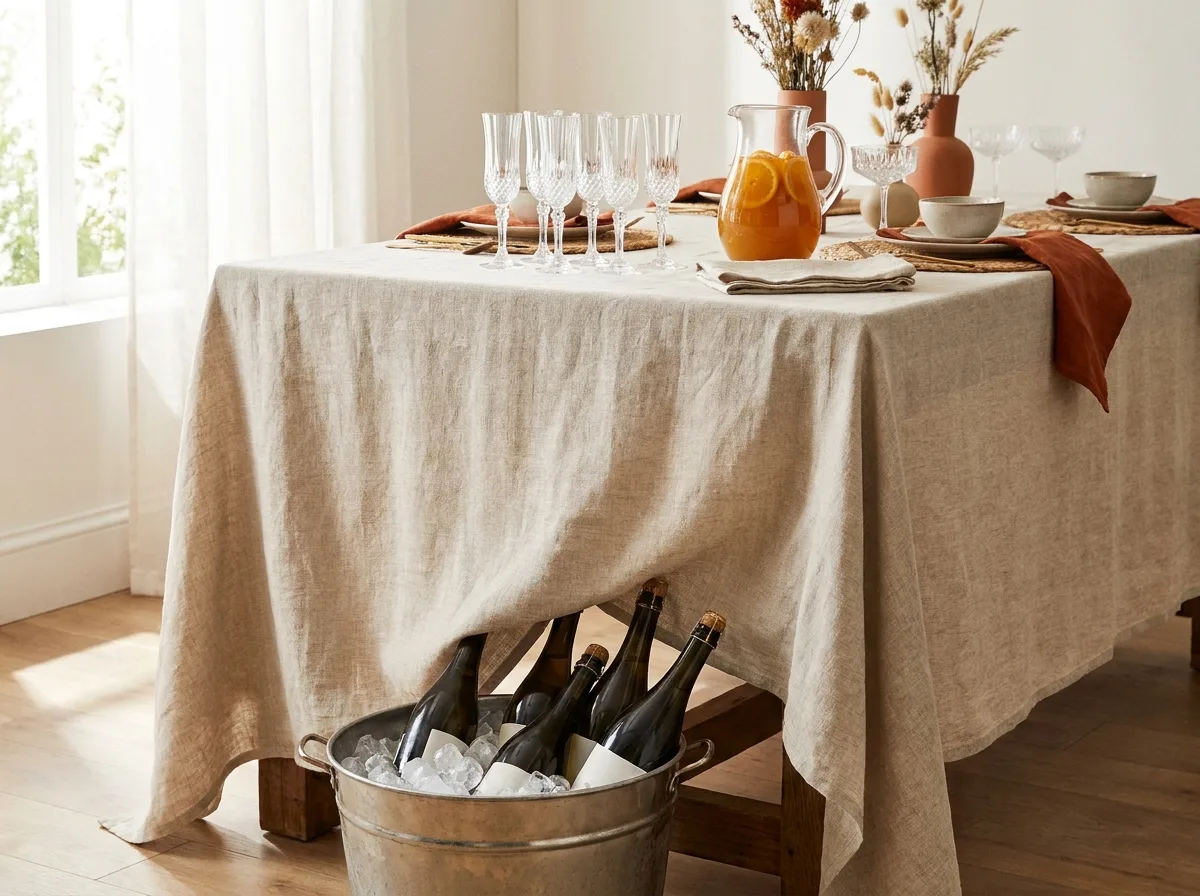
Pick a spot away from the kitchen traffic, cover a table with a floor-length cloth, and set a tray with glasses, juices and garnishes on top. Chill the bubbly nearby in an ice bucket or a chest hidden underneath. Add a sign, napkins and a trash spot, then test one pour before guests arrive.
Plan on roughly half an hour to an hour once you’ve shopped. Follow this order.
- Choose the table and clear a generous walkway around it so guests don’t bottleneck.
- Drape the table, hiding a cooler or bucket underneath for refills.
- Place the tray at the center and arrange glasses at one end.
- Set juices in small pitchers or their own bottles, with garnishes in bowls.
- Add the sign, napkins and a small bin for empties.
- Pour one test drink to check the ratio and the flow.
Skip the test and you’ll find the weak spot with guests watching.
Which sparkling wine works best?
Choose a dry sparkling wine labeled brut, usually a prosecco or cava. Brut means little added sugar, which keeps the drink from turning syrupy once juice joins in. Hosts commonly find these in the $10 to $15 range, while true Champagne starts around $40 and gets drowned out by juice.
One common mix-up: "extra dry" sounds drier than brut, but it’s actually a touch sweeter. Stick with brut. Prices shift by store and region, so check your own shelf.
My honest opinion: skip real Champagne for a mimosa bar. You’d pay several times more for subtleties that orange juice erases. Save it for toasting plain.
How much bubbly do you need, and what does it cost?
Plan about one 750 ml bottle for every three guests, since a bottle yields roughly 6 to 8 mimosas. For 10 guests that means 3 to 5 bottles, for 20 guests 6 to 8, and for 40 guests roughly 12 to 16. Budget wine costs stay modest, while Champagne multiplies the total quickly.
The table below uses blog-reported price ranges ($10 to $15 for cava or prosecco, about $40 for Champagne) and covers wine only. Juice, garnish and glassware add to it. It’s a planning estimate, so local prices and your guests’ appetite will move it.
| Guests | Bottles | Budget bubbly ($10 to $15) | Champagne (about $40) |
|---|---|---|---|
| 10 | 3 to 5 | $30 to $75 | $120 to $200 |
| 20 | 6 to 8 | $60 to $120 | $240 to $320 |
| 40 | 12 to 16 | $120 to $240 | $480 to $640 |
How I judged it: bottle count times the stated price range, rounded to whole dollars. Add one extra bottle if the party runs past two hours, since people pour heavier than they expect.
Which juices and garnishes should you offer?
Offer orange juice plus two contrasting options, such as pineapple, grapefruit, cranberry or peach nectar. Add a garnish or two, like berries, orange slices or a sprig of mint or rosemary. Pour a standard drink as about 3 ounces of wine, 2 ounces of juice and, if you like, 1 ounce of orange liqueur.
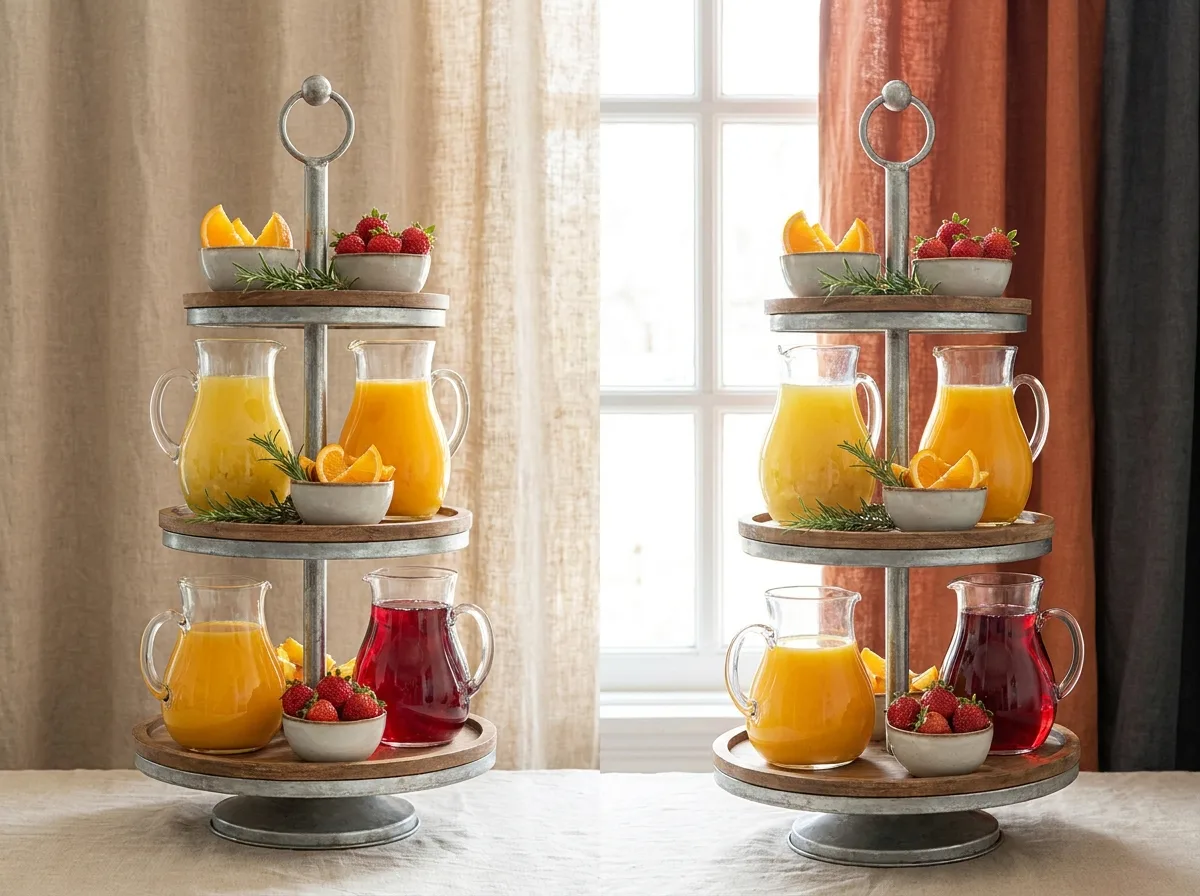
Some guests dislike orange juice, so a second juice helps without a giant menu. Fruit purée such as mango or peach gives a Bellini-style drink.
Frozen fruit is a quiet star. It chills the glass without watering the drink down, so it doubles as garnish and ice.
How do you style a mimosa bar so it looks like decor?
Treat it like a styled vignette. Use a tray to group items, vary heights with a tiered stand or cake stand, and keep one color theme. Add greenery or flowers, hide the cooler under a floor-length cloth, and set the bar against a plain wall so the display reads as intentional.
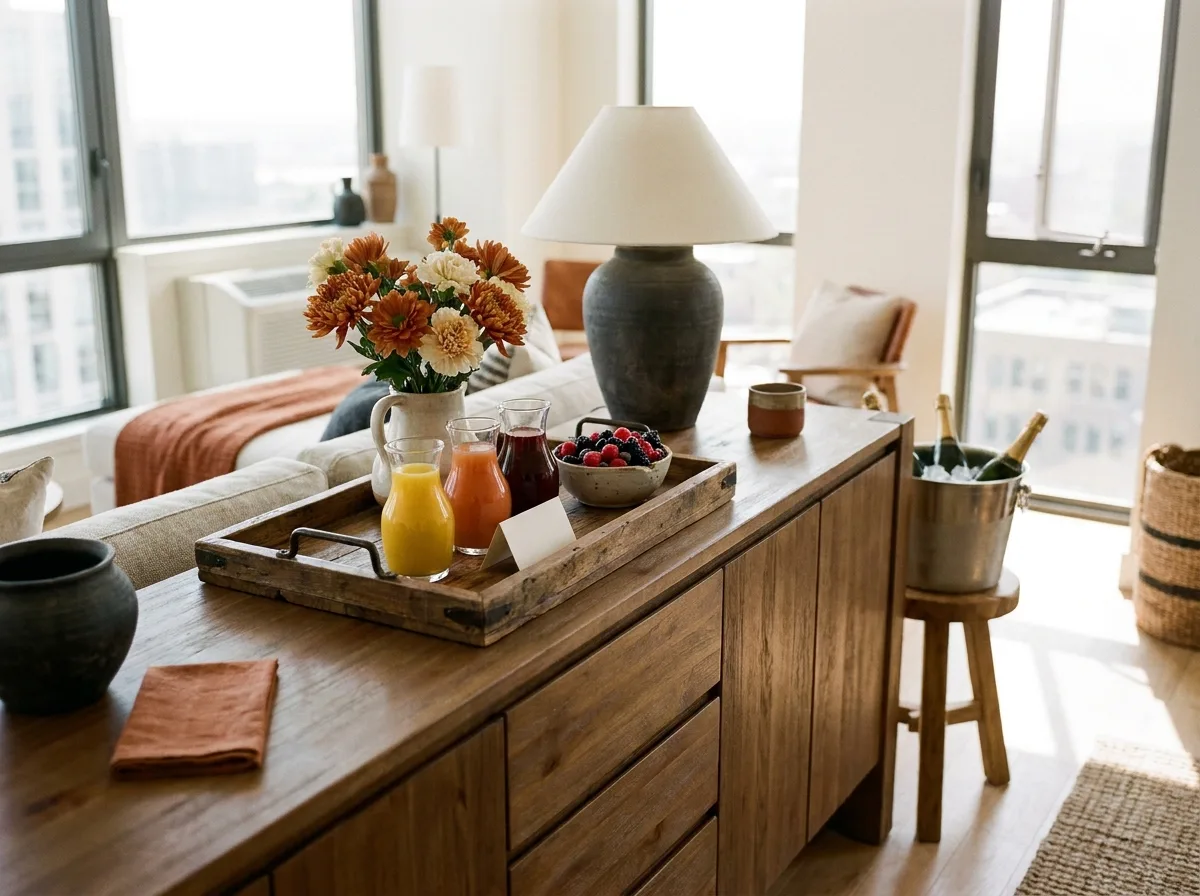
This is where a home blog earns its keep. Height is the cheap trick: set the juices on a stand and the glasses on the tray, and your table has depth. A bar cart or console table works when floor space is tight.
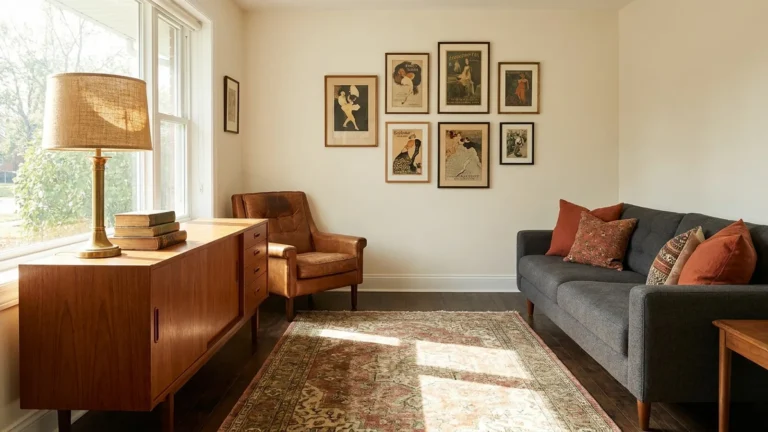
Say a renter with a 6 foot sideboard wants a brunch setup. She clears the top, adds a tray, three small pitchers, a bowl of berries and a handwritten sign, and keeps the ice bucket on a stool beside it. The result looks like a feature wall, no extra furniture purchased. If you enjoy this styling mindset, the same logic powers a vintage aesthetic with the right trays and glassware.
What mimosa bar ideas fit each occasion?
Match the styling to the event. Bridal showers like soft pastels and flowers, brunch weddings suit simple signs and elegant flutes, holidays work with seasonal fruit and festive colors, and open houses benefit from a low-key, non-alcoholic-friendly station. Keep the menu short and labeled in every case.
A few directions to borrow:
- Bridal shower: pastel garnishes, fresh blooms and a hand-lettered sign.
- Brunch wedding: flutes or coupes and a short menu card.
- Holiday brunch: cranberry, pomegranate and rosemary for a wintry look, or pair it with a Christmas charcuterie board.
- Mother’s Day or Easter: peach, strawberry and edible flowers.
- Open house: sparkling lemonade and cider, since a drink station and agents don’t always mix.
What should your sign and menu say?
Keep the sign short: a title, the pour order and the juice names. A good mimosa bar sign reads like a recipe, such as "Bubbly first, then a splash of juice." Add small labels so spiked and plain options never get mixed up. A chalkboard, a framed card or a printed menu all work well here, as long as the lettering is large enough to read from a few feet away. non-alcoholic lane deserves its own label, such as "Sparkling cider and juice, no wine." Guests who skip alcohol then feel included instead of hunting for the safe option.
Should it be self-serve or staffed?
Self-serve is cheaper and more relaxed, while a bartender pours consistently and controls how much goes out. For large or formal events, a bartender who pours the wine while guests add juice themselves is a good compromise. Hosts can face liability questions, so check local rules and insurance.
Reddit wedding threads lean toward staffed bars at bigger events, mainly because pours get heavy and bottles vanish. The juice-station compromise has another perk: non-drinkers can use it too.
A common version of this story goes like this. A host sets out six full bottles for a 40-person brunch, and half the bubbly is gone in the first hour because guests pour freely. Staffing or pre-pouring a first round slows that down. I’d pick the compromise for any group above 30.
Alcohol laws differ by state, so a short call to your insurer or venue is time well spent. If your party is more intimate and casual, you may enjoy the food-forward ideas for small cups that sit beside a self-serve station nicely.
How do you keep the bubbly cold?
Keep bottles sealed and chilled until needed, store backups in an ice bucket or a cooler under the table, and pour from the bottle. Decanting sparkling wine into pitchers lets the carbonation escape, and warm juice makes things worse. Chill juices too, and limit refills to small batches.
A sommelier answer on Quora points out that pitchers flatten bubbly fast, and plastic makes it worse. Pre-mixed pitchers are tempting, but I’d skip them unless you’re serving within minutes.
Other logistics for any mimosa bar:
- Check venue rules, because some ban glass.
- Hot rooms warm bottles quickly, so keep the cooler lid closed.
- Count your backup. One or two spare bottles are cheap insurance.
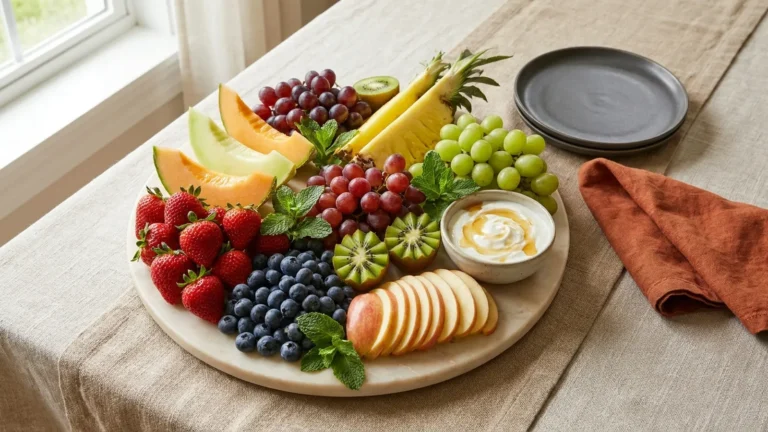
Pair the drinks with something easy. Fruit and bites like a fruit charcuterie board cut the sweetness and keep guests grazing.
Frequently Asked Questions
What is the ratio for a mimosa?
The common ratio is about 3 ounces of sparkling wine to 2 ounces of juice, with an optional ounce of orange liqueur. Many hosts also pour half and half, so test one glass and adjust. A taller pour means more bottles, so keep the count in mind when you plan. Write the ratio on your sign so guests don’t overpour.
How many bottles do you need for 20 guests?
Hosts commonly plan 6 to 8 bottles for 20 guests, based on about one bottle per three guests. A 750 ml bottle gives roughly 6 to 8 mimosas. Buy one extra if the party runs long or guests arrive thirsty. Unopened extras can often be returned or saved for another day.
Should you use prosecco, cava or Champagne?
Use brut prosecco or cava. They cost far less and taste clean once juice goes in. Real Champagne is a fine treat, but most of its nuance disappears in a mimosa. Skip anything labeled "extra dry" unless you like it sweeter. Our home bar ideas guide covers other stocking choices.
What is the best juice besides orange juice?
Pineapple, grapefruit, cranberry and peach nectar are all popular. Peach gives a Bellini feel, and pineapple tastes tropical. Choose juices that contrast in color and flavor, such as one tart and one sweet. Three juices total is plenty, and a fruit purée can replace one if you want something fancier.
Can you make mimosas ahead of time?
You can, but they lose bubbles quickly. Pre-mixed pitchers go flat within a short time, so mix only what you’ll serve right away. A better shortcut is chilling everything in advance, setting out garnishes early, and pouring the bubbly to order. Pre-pouring a first round of flutes is another option.
Is a mimosa bar tacky at a wedding?
No, that’s a myth. A brunch or lunch wedding can happily serve mimosas as a main drink, especially with coffee, tea, soda and water alongside. Couples often pair it with a short menu or a host tab. It reads as thoughtful when the station is neat, labeled and stocked.
Do you need a bartender?
Not for a small party. For about 30 guests or more, a bartender helps with pours, backup bottles and liability worries. A middle path is a staff member pouring the wine while guests add juice. Ask your venue or insurer about alcohol rules, since they vary by state.
How do you keep the bubbly from going flat?
Keep bottles cold and sealed until you pour, and pour straight from the bottle into the glass. Don’t decant into pitchers, because carbonation escapes quickly. A tilted glass cuts foam too. Fill about halfway with wine, then add juice. Store backups in a cooler beneath a floor-length tablecloth.
What are good non-alcoholic mimosa options?
Swap the wine for sparkling cider, sparkling lemonade, ginger ale or club soda. Use the same juices and garnishes, and label the lane clearly so it feels included. Some hosts offer a non-alcoholic pitcher beside the bubbly. Place it at the same height as the bubbly so it looks like part of the display.
How do you set up a mimosa bar in a small space?
Use a tray on a sideboard, console, bar cart or kitchen counter. Stack height with a cake stand, tuck a small ice bucket on a stool and keep to two juices. Keep the setup small and refill from the fridge so you don’t need much counter room.
Conclusion
The best mimosa bar isn’t the one with the most juice flavors. It’s the one that looks planned, stays cold and doesn’t run dry. Go back to that bridal shower for 20: with a tray, a floor-length cloth hiding an ice chest, three juices, 6 to 8 bottles of brut and a clear sign, the kitchen counter jam disappears and guests drift to the station on their own.
Remember the lesson running through every section: design the station, not just the drinks. Brut prosecco beats Champagne for value, a non-alcoholic lane makes everyone welcome, and a bartender or pre-poured first round keeps the pours honest.
Your next step is simple. Pick your spot, count your bottles, and do one test pour. If you’d like more brunch inspiration, take a look at our fruit charcuterie board guide. So what’s the one styling touch that would make your mimosa bar feel like yours?