HVAC Duct Repair: Fix the Leak Before You Replace the System
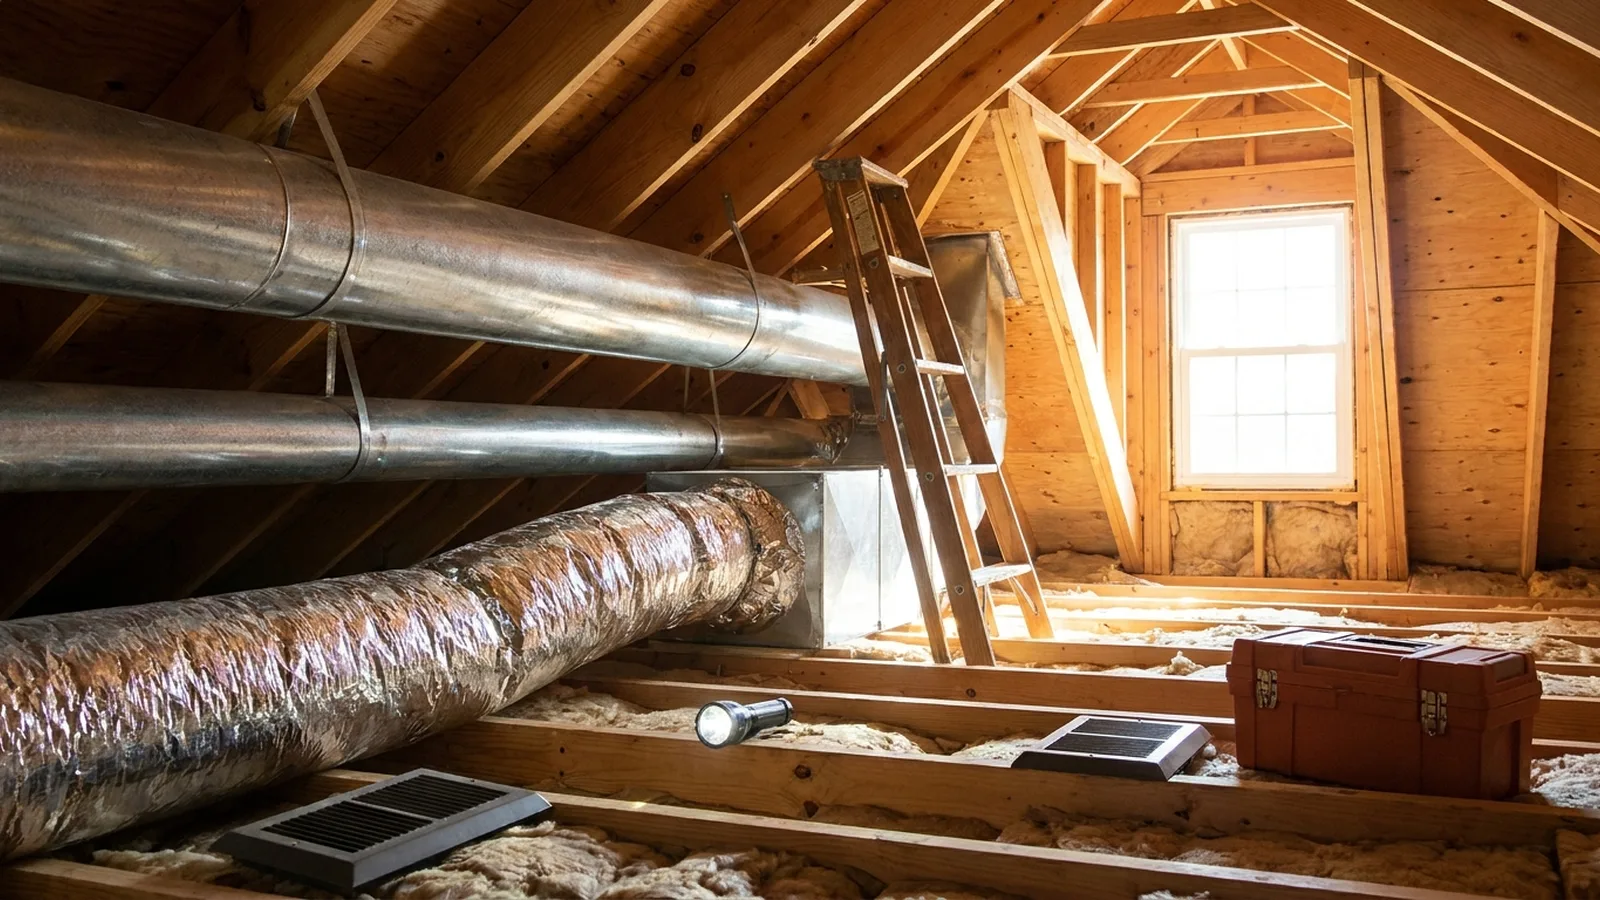
Say it’s August, the thermostat reads 78, and the upstairs bedroom feels like a car parked in a lot. You’ve already paid for a tune-up. A salesperson is now hinting that a new air conditioner is the only real answer, and the quote has a comma in it. Before you sign anything, consider a less glamorous suspect: the ductwork hiding in your attic, crawlspace or walls. Good hvac duct repair may fix the problem for a fraction of the price.
Ducts are the sheet metal or flexible tubes that carry cooled and heated air to your rooms. When they leak, disconnect or collapse, even a brand-new system can’t deliver what you paid for. That’s why fixing ducts is often the cheapest comfort upgrade in the house, and the one most people skip because they can’t see it.
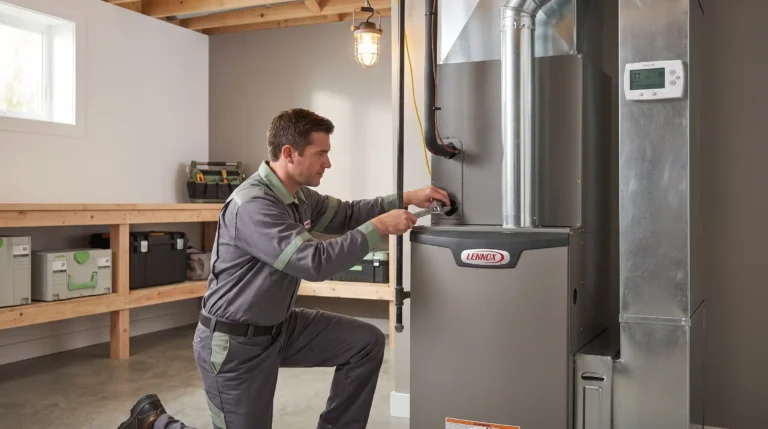
This guide shows you how to spot the problem, what you can safely fix, which tape actually works (spoiler: not the gray stuff), what repairs cost, and how to judge a ductwork quote. It is one part of keeping your home’s heating and cooling healthy, alongside choices like when a furnace replacement really makes sense.
Executive Summary
If your rooms heat or cool unevenly, your energy bills creep up, or your vents blow weakly, leaking or damaged ducts are a prime suspect. You’ll learn how to confirm that, fix the easy failures yourself with the right materials, and hand the hard ones to a pro with a clear scope.
Three insights matter most. First, ENERGY STAR says roughly 20 to 30 percent of the air moving through a typical duct system is lost to leaks, holes and poor connections, so sealing often beats replacing equipment. Second, mastic or a properly rated metal tape is the answer, and standard cloth duct tape is not. Third, cleaning is rarely the repair. The biggest objection is "can I really do this myself?" For accessible joints and a single flex run, yes. For anything concealed, tight or possibly asbestos-wrapped, no. You’ll also get a repair-or-replace rule and the cost ranges contractors quote, labeled as estimates, so you can walk into a conversation with a pro already knowing the numbers.
What counts as hvac duct repair, and what does not?
HVAC duct repair means fixing the air pathway itself: sealing leaky joints, reconnecting pulled-apart sections, replacing crushed or torn flex duct, and resealing boots and plenums. It does not include cleaning dust out of ducts, swapping filters or replacing the air handler. Those are different jobs with different results.
Think of ducts like garden hose. If the hose has holes, buying a stronger pump won’t help. A few terms help here. The plenum is the box attached to your furnace or air handler where air enters the duct system. A boot is the fitting where a duct meets the register in your floor, wall or ceiling. Flex duct is the round, insulated, wire-reinforced tube common in attics. Most failures happen at these connection points, not in the middle of a straight run.
How do you know your ducts are leaking?
Look for rooms that never reach the set temperature, weak airflow from some vents, rising energy bills with no other explanation, dust that returns days after cleaning, and ducts you can see with gaps, sagging sections or loose connections. A visual check in the attic or crawlspace confirms most cases within an hour.
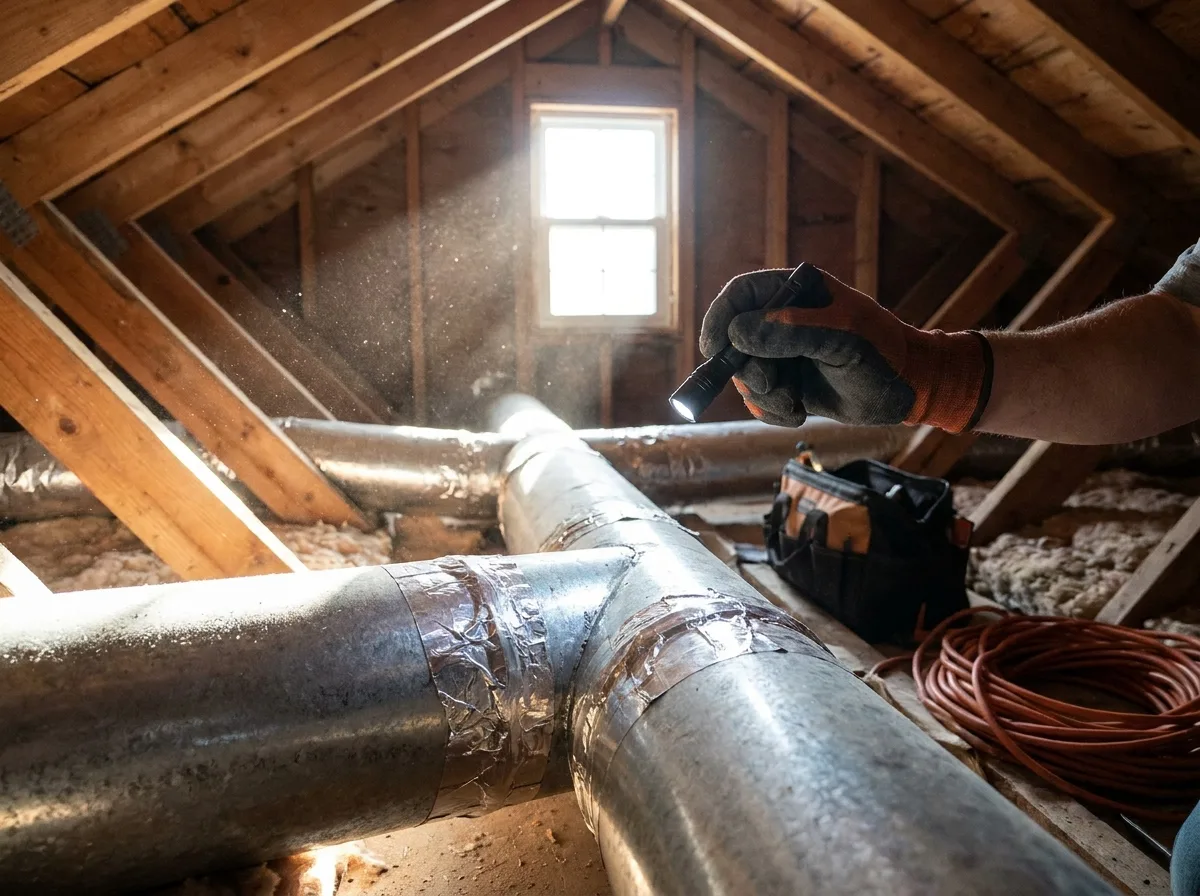
Here’s the part most people miss: leaks inside an attic don’t whistle. They quietly dump cooled air where nobody lives. If you can reach your ducts, run your hand along each joint with the system running. Cool or warm air on your palm outside the duct means a leak.
A quick symptom map helps you triage before any hvac duct repair starts.
| Symptom | Likely cause | Who usually fixes it |
|---|---|---|
| One room barely gets air | Disconnected or crushed flex duct, closed damper | DIY or pro |
| Hot upstairs, cool downstairs | Leaks in attic ducts, weak return, poor balancing | Pro to diagnose |
| Dust blowing from one vent | Loose boot or return leak pulling in dust | DIY if reachable |
| Whistling or rattling | Loose collar, undersized duct, damaged connection | DIY or pro |
| Musty smell | Moisture, possible mold in or near ducts | Pro, fix the water first |
Is it the ducts or the AC?
If your system runs constantly but some rooms stay uncomfortable, suspect the ducts, airflow or insulation before the equipment. A properly sized new unit connected to leaky, undersized or poorly balanced ductwork will usually perform just like the old one.
One pattern that keeps showing up in homeowner threads goes like this. A family replaces the AC, the house still sits warm in the afternoon, and cold air at the vents is far below the room temperature. The equipment is making cold air. The ducts are losing it. Vaulted ceilings, a missing return path and a rushed install can produce the same symptoms, so a duct pressure test or home energy audit before buying new equipment is money well spent. I’d treat that audit as insurance against an expensive mistake. Pair it with a quick check of your thermostat settings so a simple control issue doesn’t hide the real cause.
What can you fix yourself with hvac duct repair, and what should you leave alone?
You can safely handle visible, reachable repairs: resealing joints with mastic or rated tape, reattaching a loose flex duct, and replacing one damaged flex section. Leave concealed ducts, anything near gas appliances or possible asbestos wrap, and whole-run replacement to a licensed pro.
Attics are the hard part, not the sealing. Summer attic heat can become dangerous within minutes, so work in the morning with water, a headlamp, a respirator and gloves, and step only on joists. Switch off the system at the thermostat and breaker before cutting or opening anything.
Older homes add another wrinkle, and it can change the whole plan for hvac duct repair. In older homes, duct wrap or tape may contain asbestos. If the material looks old, crumbly or chalky, don’t disturb it. Have it tested, and know that rules and permit requirements vary by state and city. Any work touching a furnace flue or gas connection belongs to a licensed professional, full stop. Electrical tie-ins, like a new blower circuit, also need a pro and a permit (see why a breaker keeps tripping for the warning signs).
How do you repair a disconnected or collapsed flex duct?
Turn off the system, expose the damaged run, cut out the collapsed section, attach a new piece of insulated flex with proper connectors, seal the inner liner joint with mastic or UL 181 rated tape, secure it with a nylon tie, and wrap the outer jacket. Follow the connector maker’s instructions, and expect roughly two to four hours for one run.
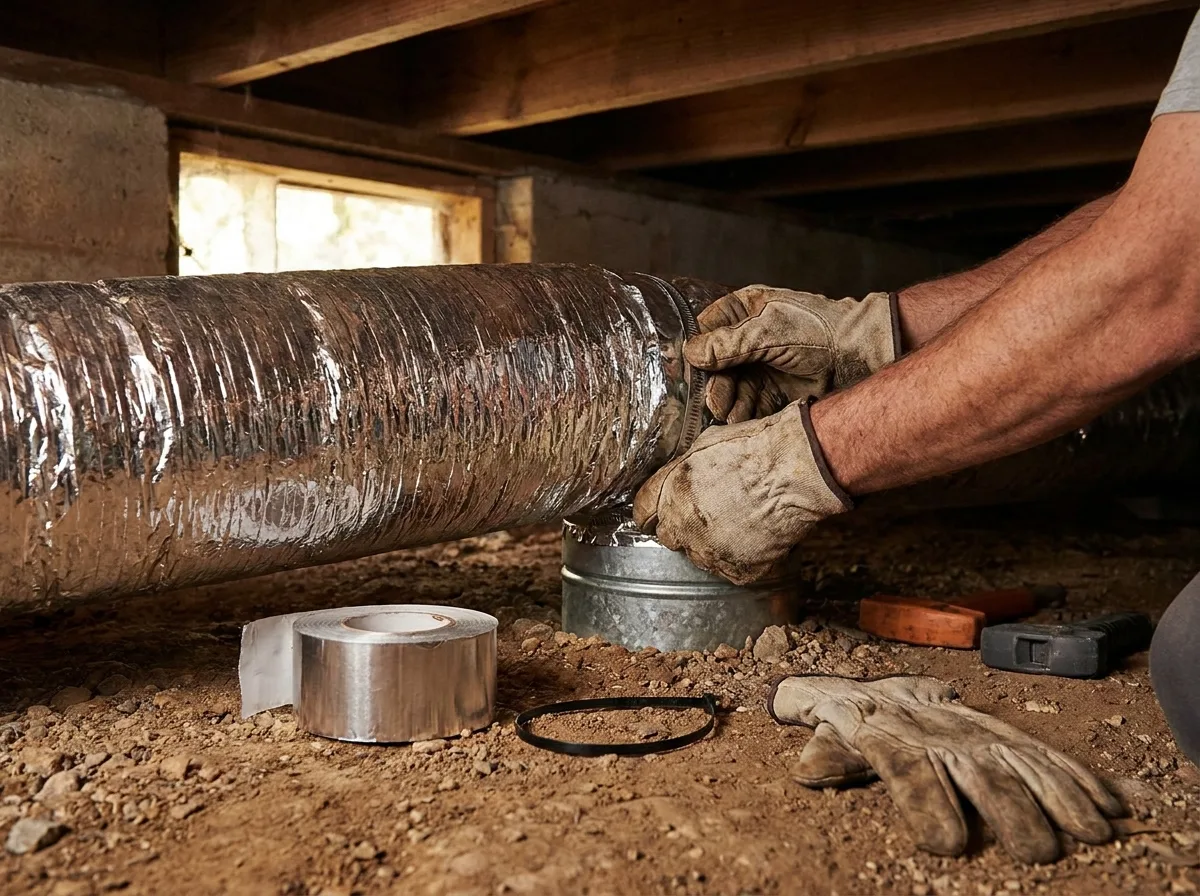
A common version of this story is a first-timer crawling under the house to replace a collapsed return duct. One Reddit homeowner called the job "easy but a major PITA." The wins came from the right materials, not from skill.
- Turn the system off at the thermostat and breaker, then trace the run from the register back to the trunk.
- Cut out the crushed or torn section, leaving clean ends.
- Slide the inner liner over the collar, then seal it with mastic or UL 181 foil tape and cinch it with a nylon duct tie, following the connector maker’s instructions.
- Pull the insulation and outer jacket over the joint and seal that with tape too.
- Support the run with wide strap every few feet so it doesn’t sag, because sags restrict airflow.
- Turn the system on and check the joint with your hand for escaping air.
Keep the run as straight and short as you can. If the unit itself is ancient, read how a furnace swap is planned and priced before spending on ducts. Tight bends and overly long flex create resistance that makes your blower work harder.
Which tape or sealant works for hvac duct repair?
For lasting hvac duct repair, use water-based mastic or foil tape marked UL 181 rated. ENERGY STAR advises sealing with mastic or metal tape and says standard cloth duct tape is not the right choice. Clean the surface first, because sealant sticks to dust poorly.
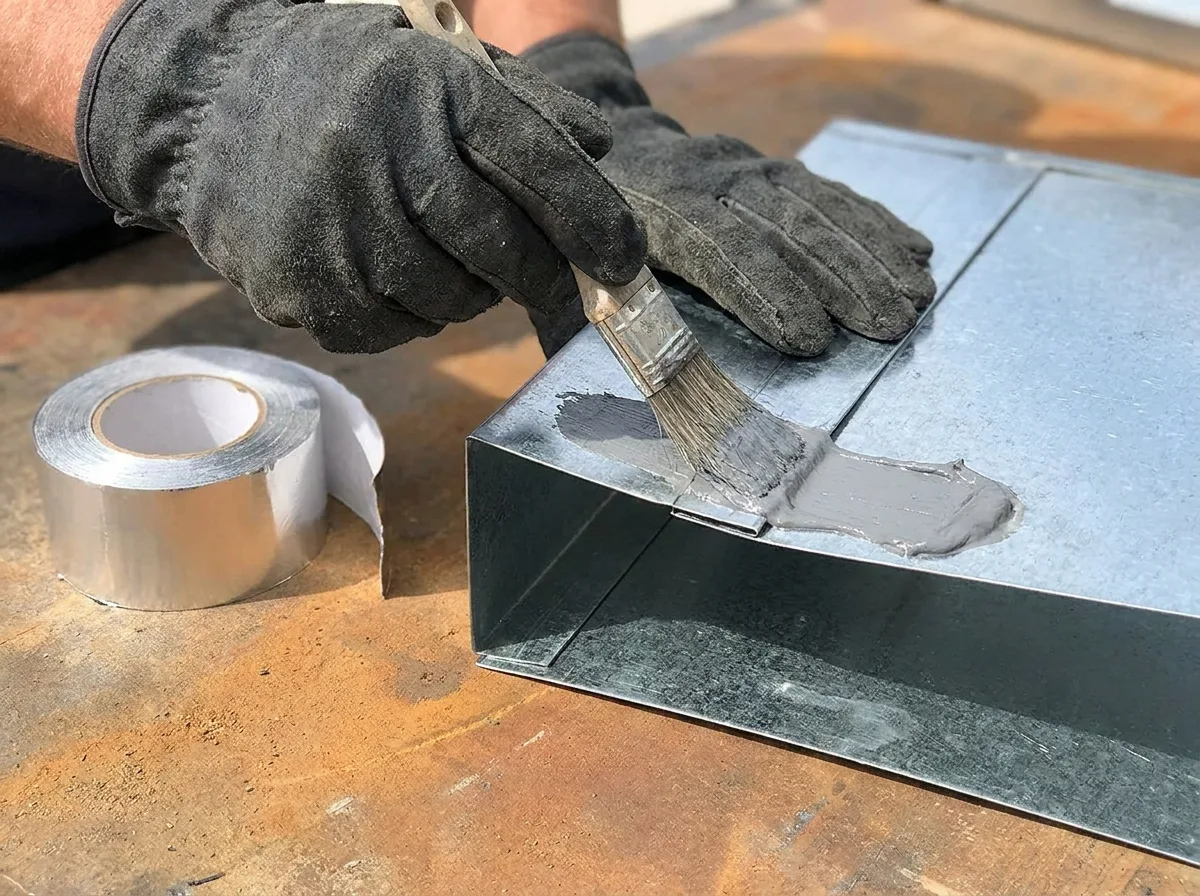
For any hvac duct repair, gray cloth duct tape is the classic wrong answer. The adhesive dries out in attic heat and the tape peels within a couple of seasons. One Reddit user bought paper-backed tape for a repair, doubted it, then spent about $30 on proper foil tape instead.
| Material | Best for | Honest limit |
|---|---|---|
| Mastic (brush-on paste) | Metal joints, seams, boots, plenum | Messy, needs a dry surface |
| Foil tape marked UL 181 | Flex liners, straight seams, quick fixes | Fails on dirty or oily surfaces |
| Latex sealant | Small gaps and holes | Not great for big openings |
| Cloth duct tape | Nothing permanent | Dries and peels |
Listings often mention UL 181A-P for rigid duct and UL 181B-FX for flexible duct. Check the printed marking on the roll and match it to your duct type. My pick for most homeowners: mastic on metal, rated foil tape on flex.
What does hvac duct repair cost?
Typical hvac duct repair costs depend on access, duct type and how many leaks there are. According to one contractor guide, a standard repair at an accessible joint or single flex section runs $300 to $700, a DIY joint seal $30 to $60 in materials, and a whole-system Aeroseal $1,500 to $4,000.
Treat those as vendor estimates for one metro area. The same guide puts labor at roughly 60 to 70 percent of the bill, and attic height, crawlspace crawl distance and local rates move the number a lot. As an illustration, a job that takes thirty minutes on a ladder could take hours in a tight crawlspace.
| Approach | Typical range (vendor estimate) | What drives it |
|---|---|---|
| DIY mastic or tape seal | $30 to $60 | Number of joints, tools |
| Pro repair of accessible section | $300 to $700 | Access, duct type |
| Aeroseal sealing from inside | $1,500 to $4,000 | Home size, leak size |
| Partial or full duct replacement | Several thousand and up | Square footage, routing, permits |
Aeroseal is a process that blows aerosol sealant through the ducts to close leaks from the inside. It reaches hidden spots, but it generally won’t fix collapsed or disconnected ducts, so those are typically repaired first.
When is repair not worth it, and replacement is?
Replace ductwork when it’s crushed in many places, moldy inside, wet, rodent-damaged, badly undersized or so leaky that repairs would cost around a third of full replacement. Otherwise, sealing and a few targeted fixes almost always cost less and work well.
One contractor guide offers a "repair ratio" rule of thumb: if repairs reach about 35 percent of replacement cost, replacement starts to look sensible. It’s a guide, not a law. Say a house needs $1,200 of fixes while replacement is quoted at $9,000. That’s 13 percent, so you repair. If the quote for fixes is $3,500, you’re near the line and should get a second opinion.
Homeowner stories put replacement anywhere from $9,800 for a partial job to $17,000 for a full one. Those are anecdotes, not averages.
How do you read a ductwork quote without getting burned?
Ask for an itemized scope that lists the duct material, number of runs, plenum or trunk work, insulation level, permits and whether sealing is included. Compare scope instead of totals, and collect three quotes from local contractors who pull permits. A cheap number and a high number often describe two different jobs.

A thread that keeps resurfacing has a homeowner worried about a $3,000 quote for a roughly 1,100 square foot home. Replies in one thread suggested that a low number usually means flex duct hung off a new plenum, while higher quotes lean toward sheet metal. Neither is automatically a scam. They just aren’t the same product.
Watch for red flags:
- A quote with no line items or duct sizes.
- Pressure to sign today.
- "Replace everything" with no pressure test or inspection.
- No mention of permits.
Customer referrals alone don’t prove good duct work, since homeowners rarely see the inside of their ceilings. Ask for photos of previous installs instead.
Does duct cleaning count as repair?
No. Cleaning removes dust and debris, but it doesn’t close leaks or fix damage. The EPA says routine duct cleaning isn’t needed and recommends it only for substantial visible mold, rodent or insect infestation, or heavy clogging, with moisture problems fixed first.
Dirty-looking dust in a register is rarely proof of dirty ducts, so don’t pay for the "shock factor" photo. If cleaning is truly needed, seal and repair afterwards, never before. That order matters.
Frequently Asked Questions
Can I repair my own ducts?
Yes, for visible joints and single flex runs. Use mastic or UL 181 rated foil tape, turn the system off and wear protective gear. Leave concealed ducts, gas-appliance connections and suspected asbestos materials to a licensed pro. Local codes vary, and some areas require permits even for duct modifications. If you’re unsure, a short inspection costs far less than guessing.
Is duct tape OK for ducts?
No. Standard cloth duct tape dries out and peels in the heat of an attic, which is why it’s the most common myth in this field. ENERGY STAR recommends mastic or metal tape instead. Look for the UL 181 marking printed on the roll, clean the surface first, and press the tape firmly so the adhesive can grab hold.
How long does a duct repair take?
A simple joint reseal can take under an hour. Replacing a single flex run often takes roughly two to four hours, depending on access. A full Aeroseal job takes a pro most of a day. Mastic-based hvac duct repair on a few joints is far quicker.
Does duct repair lower energy bills?
Usually, yes. ENERGY STAR says roughly 20 to 30 percent of air moving through duct systems is lost to leaks, holes and poor connections, so fixing them means your system works less to deliver the same comfort. The exact savings depend on your home, climate and how bad the leaks were.
Is repairing ducts cheaper than replacing them?
In most cases, yes. A targeted repair at accessible joints often costs a few hundred dollars, while replacement runs into the thousands. The exception is ductwork that’s moldy, wet, rodent-damaged or crushed in many places. Use the 35 percent rule of thumb as a starting point, then get a second opinion on any large quote.
Does homeowners insurance cover duct repair?
Often not. Policies often exclude wear, poor installation and gradual leaks, though coverage varies by policy and insurer, and sudden damage from a covered event, such as a burst pipe or fire, may qualify. Home warranties vary widely in what they cover. Read your policy language, ask your agent directly, and keep photos of the damage before any repair starts.
How often should ducts be inspected?
One contractor suggests every three to five years, which is a reasonable vendor guideline. Inspect sooner after roof work, rodent activity, a flood or if comfort suddenly changes. A quick visual check of accessible ducts each spring or fall takes about fifteen minutes and catches loose connections early. Anything concealed needs a pro with the right tools, so schedule that around other HVAC service.
Will a new AC fix hot rooms?
Not if the ducts are the cause. A new unit pushes cold air into the same leaky, undersized or unbalanced duct system, so the same rooms stay hot. Fix the ducts first or at least test them. A pressure test, airflow check or home energy audit tells you whether the equipment or the ductwork deserves your money.
Does duct cleaning fix leaks?
No, and that’s a common myth. Cleaning removes surface dust and debris but doesn’t seal a single gap. The EPA doesn’t recommend routine cleaning, so save it for visible mold, pests or heavy clogging. Spend that money on sealing first, then clean only if a real contamination problem remains. Cleaning over leaks just lets the dirt come back.
Do dusty vents mean the ducts are dirty?
Not necessarily, and this one is a myth. Dust on a register grille often comes from household air settling there, or from a leak pulling dusty attic or crawlspace air into the return side. Wipe the grille, check the filter, then look for leaks near returns and boots before booking a cleaning.
Conclusion
Back to that hot August bedroom. The better first move wasn’t a new system. It was a flashlight, a ladder and twenty minutes in the attic. Fixing leaks, reconnecting that pulled-off flex run and sealing the boots with mastic often restores more comfort than equipment ever will.
That’s the real lesson of hvac duct repair: air has to get where it’s going before the machine matters. Sealing ducts is one of the least glamorous fixes in a house, and in my opinion one of the most underrated. Your next step for any hvac duct repair is simple. Check your ducts this weekend, note the symptoms, and get an itemized quote before approving any major job. If the electrical side of your system worries you, read why a breaker keeps tripping and how vertical window air conditioners work if you are weighing a supplemental cooling option.
So here’s the question worth asking: how much cooled air are you paying for that never reaches the room?