How to Fix Garage Door Sensor Problems When the Lights Look Fine
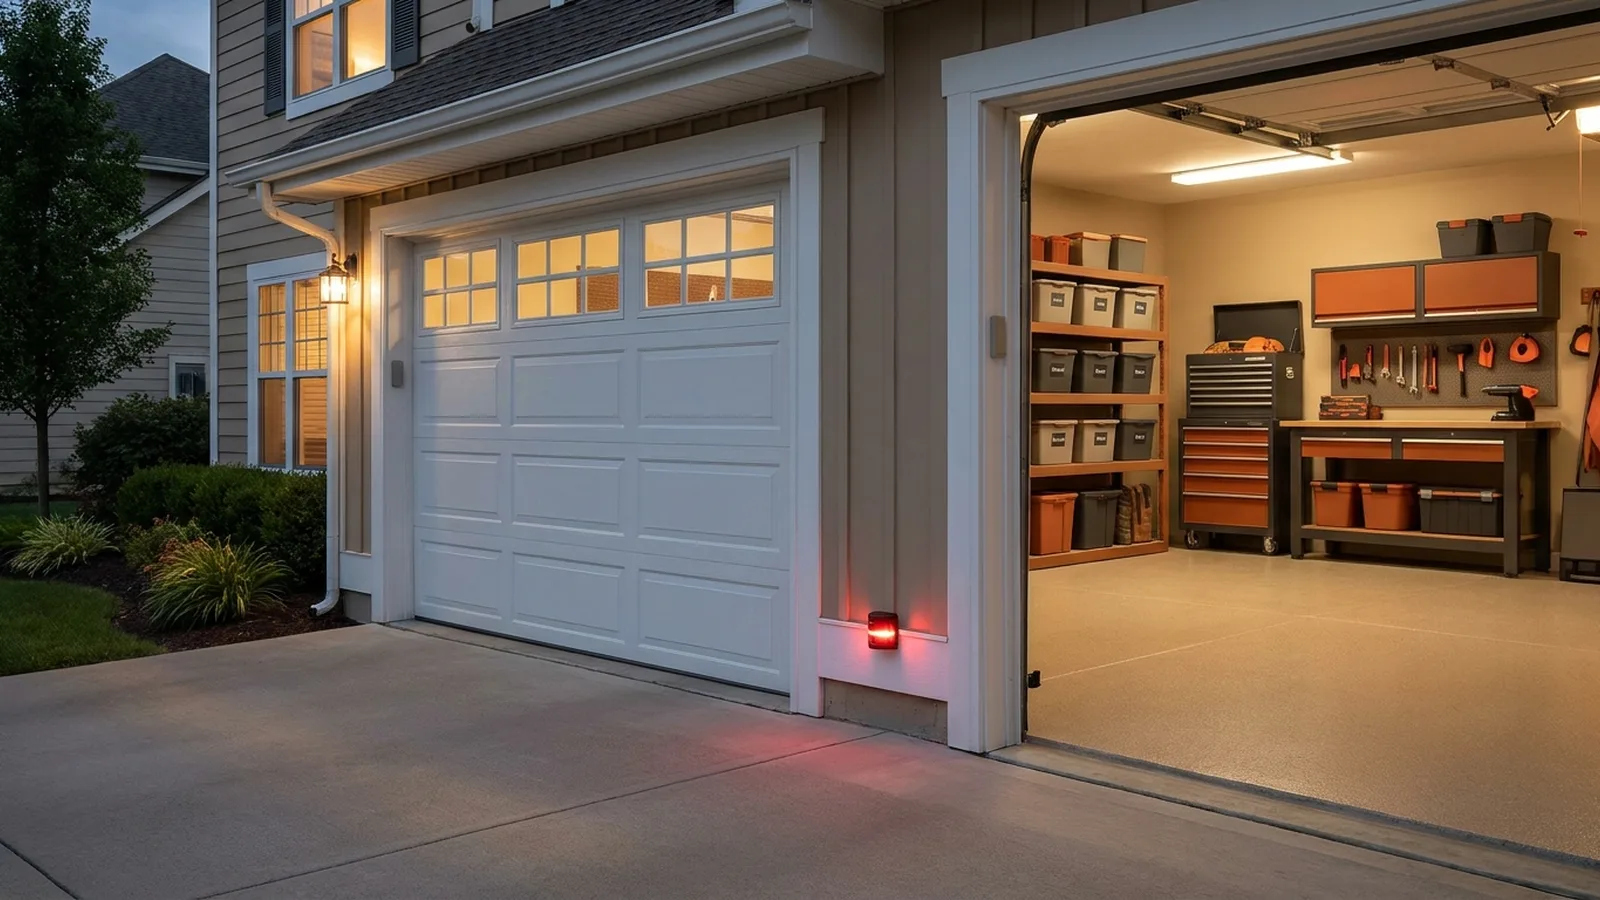
It’s 6:40 on a dark evening. You press the wall button, the door drops about a foot, then bounces back up like it touched a hot stove. Again. Again. The opener light blinks at you, and the car is still outside, and the forecast says rain.
The sensors are guilty less often than you’d think, but they take the blame every time. To learn how to fix garage door sensor trouble without paying for a service call you didn’t need, the trick is the order you check things in. Cheapest and fastest first. One change at a time.
This guide walks that order, including the annoying case where both little lights look perfectly healthy. Learning how to fix garage door sensor faults is one part of keeping an entry point in good shape, along with replacing a worn garage door cable and the rest of your exterior doors.
Executive Summary
You can solve most sensor trouble in under half an hour with a dry cloth, a level and a little patience. The fix usually falls into one of four buckets: a dirty or blocked lens, a bumped bracket, a loose wire, or a problem that isn’t the sensors at all.
Here’s what you’ll get below:
- A plain-English reading of the lights on LiftMaster, Chamberlain and Genie units
- A 10-minute alignment routine using a string and a level
- A shade test that explains why the door closes at night but not at 10 a.m.
- The "lights look fine" checklist: rollers, cold grease, force settings and bulbs
- Honest cost ranges, and when a pro is worth the visit
The biggest objection is "can’t I just bypass them?" Short answer: no. Sensors are a safety feature, and modern openers often refuse to run without them.
What do garage door sensors actually do?
Garage door sensors, also called photo eyes or safety sensors, send an invisible infrared beam across the bottom of the doorway. If anything breaks that beam while the door is closing, the opener stops and reverses. They protect kids, pets and bumpers. A federal safety rule (the UL 325 standard) requires this entrapment protection on residential openers.
One sensor sends the beam (the sending eye) and the other catches it (the receiving eye). They sit on opposite sides of the door, a few inches above the floor. Because the UL 325 standard requires this protection, that is why the opener acts like a stubborn bouncer when it can’t see the beam.
The opener isn’t broken. It thinks something is in the way.
What do the sensor lights mean on LiftMaster, Chamberlain and Genie?
Each sensor has a small LED. On LiftMaster and Chamberlain units, the sending eye normally glows amber and the receiving eye glows green when aligned. Genie and Overhead Door units often use red and green. No light, or a flickering one, points to power, wiring or alignment trouble rather than a bad opener.
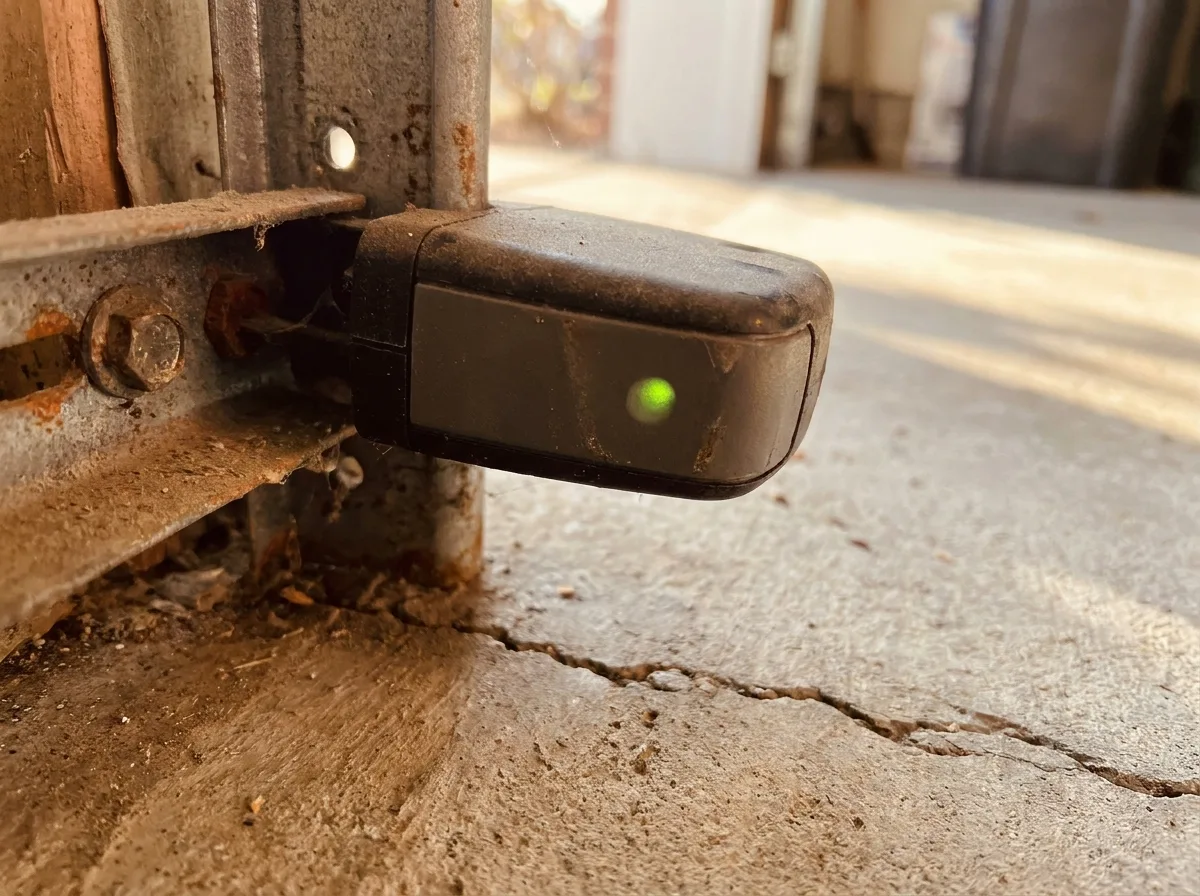
A common myth says a yellow light means a dead sensor. On many Chamberlain and LiftMaster models, amber on the sender is simply normal. Check your own opener’s manual before you panic.
| What you see | Likely meaning | First thing to try |
|---|---|---|
| Solid light on both eyes | Powered and probably aligned | Look elsewhere, see the "lights look fine" section |
| Receiver light off or dim | Beam not landing | Re-aim the sensors |
| Receiver light blinking | Poor alignment or partial blockage | Wipe lenses, nudge the bracket |
| No light on one eye | Wiring or power problem | Check the wire at the terminal |
| No light on either eye | No power to the sensors | Check the wire run to the opener |
Colors vary by brand and model year, so treat this as a starting map.
How to fix garage door sensor alignment in 10 minutes
To fix garage door sensor alignment, loosen each bracket slightly, aim the sensors straight at each other at the same height, and tighten them once the receiving light glows steady. Keep both sensors no more than about 6 inches above the floor. Close the door a few times to confirm the fix holds.
Say a bike handlebar clipped the left sensor last week. It still glows, but it’s tilted a few degrees. The beam misses the receiver, and the door reverses. That is one of the most common versions of this problem.
Try this routine to fix a garage door sensor that has drifted. Unplug the opener first if you’ll be near the wiring.
- Check both brackets for movement. Gently wiggle each sensor.
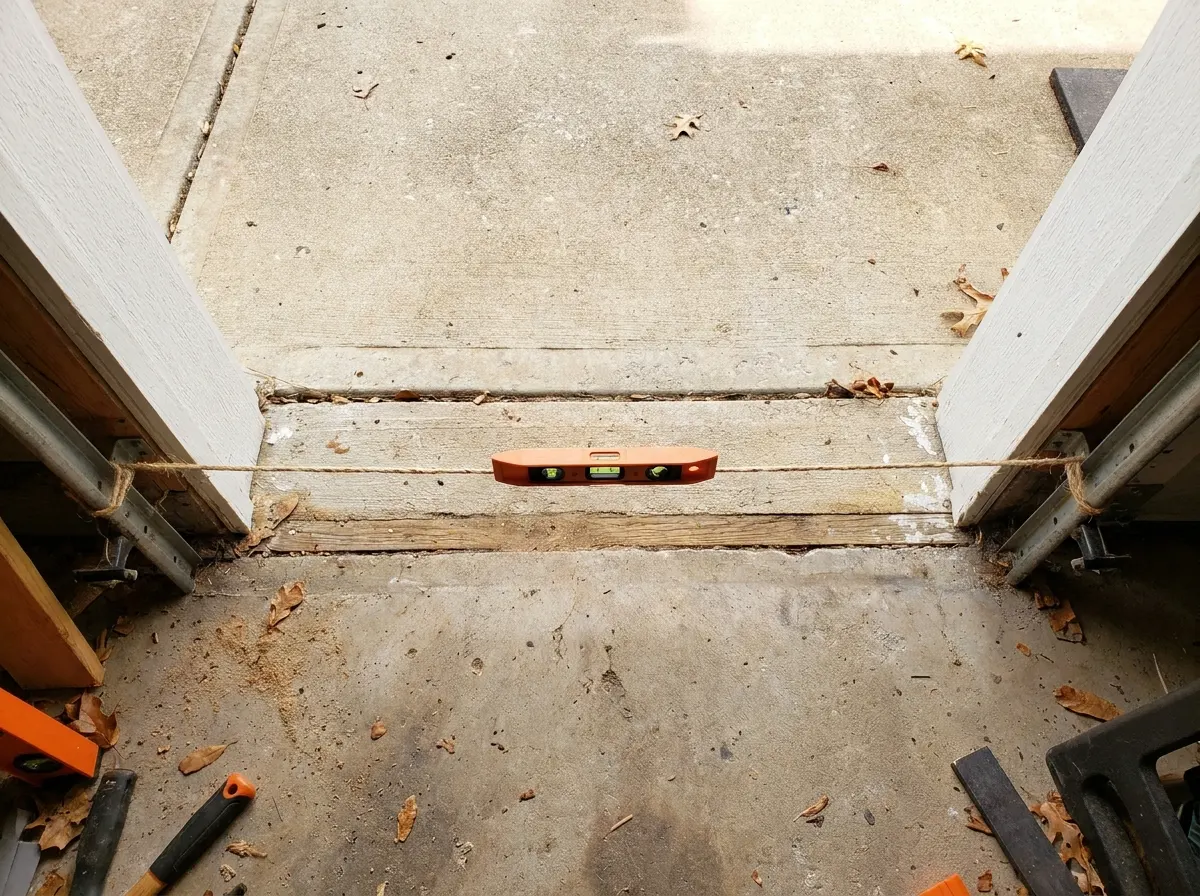
- Tie a string between the two sensors at lens height and pull it tight. If one end sags, that bracket is off.
- Rest a small level on the string to confirm it’s flat.
- Loosen the wing nut or screw, nudge the sensor until the receiving light glows steady, then tighten.
- Run the door down three times with nothing in the way.
Expect about 10 minutes for this part. Don’t over-tighten, since plastic brackets crack. If the lights still won’t settle, keep reading.
Is something blocking the beam without you seeing it?
Yes, and the culprits are small. Dust, cobwebs, a smudged lens or a leaning storage bin can break the beam. Direct sunlight hitting the receiving eye can also blind it for part of the day. Wipe both lenses with a microfiber cloth. Then clear a 2-foot zone around the sensors.
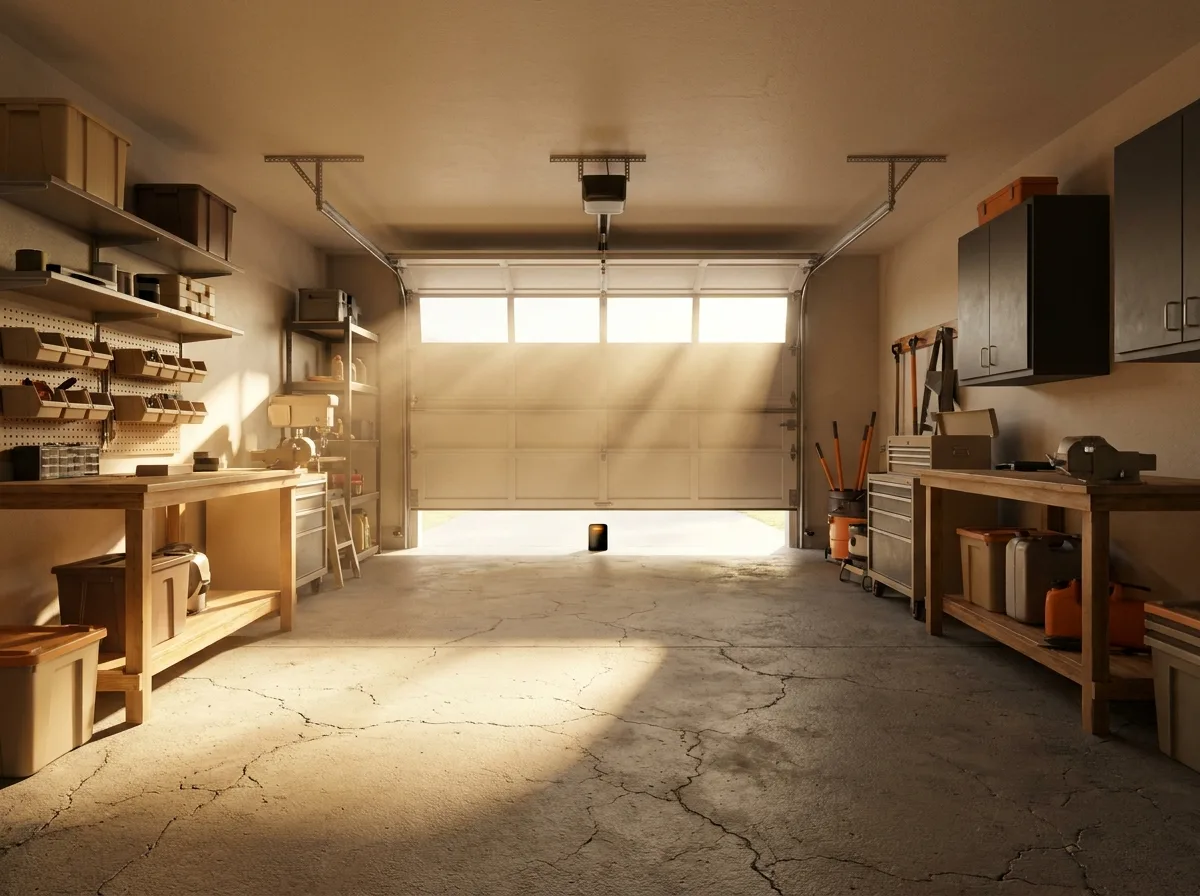
The door closes fine at night but refuses at 9 to 11 in the morning. Low sun can flood the receiver and wash out the beam. Try a simple shade test. Hold a piece of cardboard beside the receiving eye so it blocks the sun but not the beam, then press the button. If the door closes, you’ve found it.
Fixes are cheap, and they matter when the problem returns every morning. A short cardboard tube or a shield cut from a plastic bottle works as a hood. If your sensors face east or west, expect the problem to repeat seasonally as the sun’s angle shifts.
How to fix garage door sensor wiring problems
Sensor wiring is two thin low-voltage wires running from each eye to the opener’s head unit. Look for staples that pinch the wire, frayed insulation or loose terminal screws. Unplug the opener, reseat each wire, and test again. A replacement wire is cheap, but never touch high-voltage parts.
A common mistake goes like this: someone pokes at the terminal with a metal screwdriver while the opener is still plugged in, shorts the wires and can blow a fuse on the board. Unplug first, always.
A quick two-minute swap test can tell you whether the eye or the wire is at fault. With the opener unplugged, disconnect the dead sensor’s wires and hold them against the terminal where the working sensor connects, if they reach. Then plug the opener back in to test, keeping your hands away from the terminals. If the dead sensor’s light comes on, the wire is probably fine and the sensor may be at fault. If it stays dark, suspect the wire. Check your manual for your model’s wiring details. Anything involving the opener’s internal power section is a job for a licensed technician, and local codes vary on what’s allowed for homeowner work.
How to fix garage door sensor trouble when the lights look normal
If both sensor lights are steady and the door still goes down then back up, the problem often isn’t the sensors. Sticky rollers, cold or dry grease, down-force and travel limit settings, or LED bulb interference can fool the opener into thinking something is blocking the door.
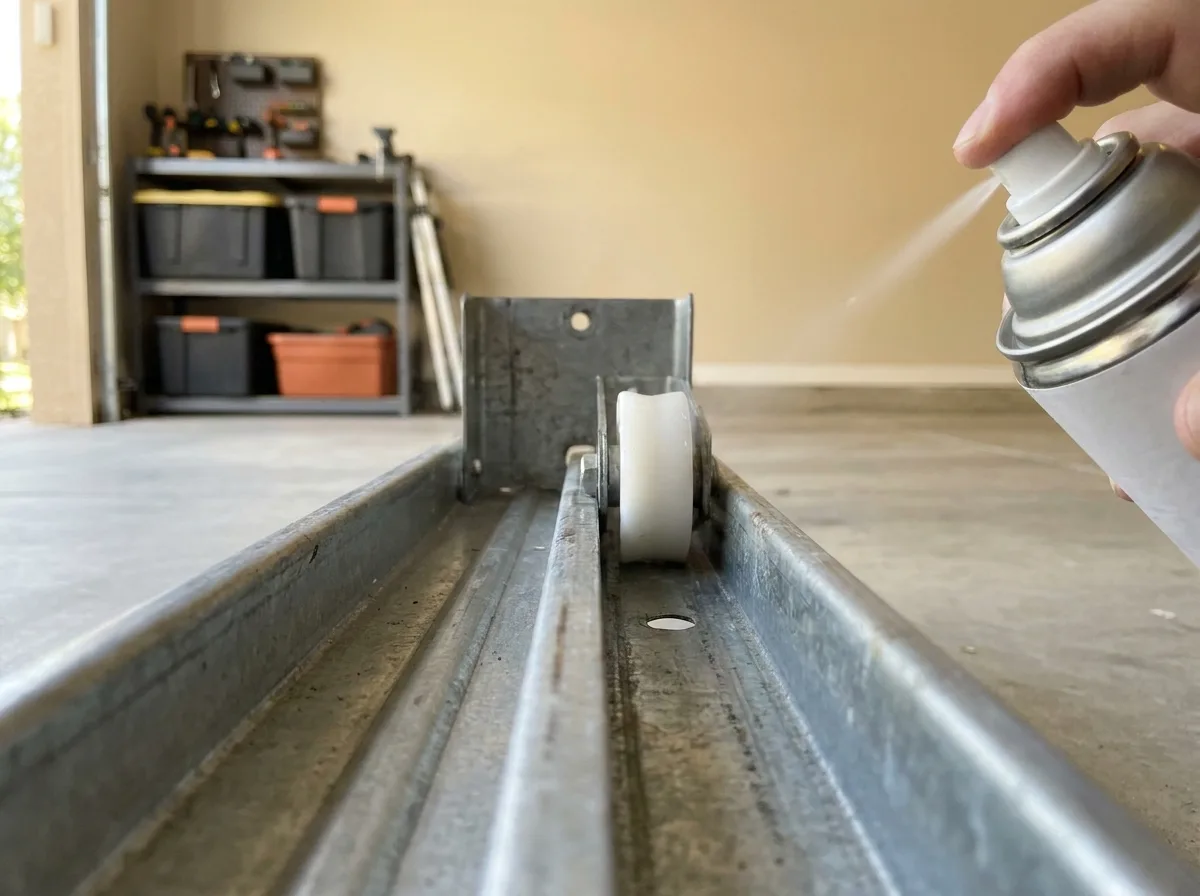
This is the mix-up that sends people to the wrong fix. Work through these in order, one change at a time:
- Rollers and track. Cold weather stiffens old grease. Wipe the rollers and hinges, then apply a lithium-based garage door lubricant.
- Force and travel limits. Many openers have small adjustment screws. A quarter turn is often enough. Follow your manual and retest.
- Power reset. Unplug the opener for about a minute (up to 15 minutes if it has a battery backup), then plug it back in.
- Bulb interference. Some owners report that certain LED bulbs interfere with the opener’s signals. If you recently changed a bulb, swap the old one back temporarily to test.
Springs and cables are not DIY territory.
Can I bypass the garage door sensor?
No, not as a fix. Bypassing the sensors removes a required safety feature, and many modern openers often refuse to close the door without a working beam. If you need to close the door tonight, hold the wall button until the door is fully down. That keeps the safety logic intact.
I’d skip bypass advice you find in random forum threads. Even where a trick appears to work, you’ve now got a door that can close on a child or a pet. Not worth it.
For tonight, press and hold the wall button, the one inside the garage, until the door touches the floor, then let go. It’s a temporary fix, not a repair. Book the repair within a few days so you aren’t hand-holding a door every evening.
How to fix garage door sensor problems yourself, and when should you call a pro?
According to one contractor’s published range, a sensor job runs roughly $85 to $150 and takes under an hour. Parts are usually the cheaper piece. Call a pro for wiring inside the opener, damaged springs or cables, or if you’re unsure about any step.
Prices swing with region, brand and service call fees. The cost side of this job is mild. Replacement kits for LiftMaster and Genie exist, but sensors from different brands often aren’t interchangeable, since the light colors and signals differ. Buy a matched pair for your opener.
Replacing the pair yourself takes about 30 minutes: unplug the opener, remove the old brackets, attach the new ones at the same height, connect the wires to the same terminals, and test.
Here is a rough way to weigh repair against replacement. The levels are typical, not quotes.
| Situation | Typical approach | Rough cost level |
|---|---|---|
| Dirty lens or bumped bracket | Clean and re-aim yourself | Free |
| Pinched or loose wire | Reseat or replace the wire | Low |
| One dead sensor | Replace the matched pair | Low to moderate |
| Wiring inside the opener | Licensed technician | Moderate |
| Springs, cables or a crooked door | Licensed technician | Higher |
Picture a homeowner whose door reverses every sunny morning. The shade test shows the sun is the cause, so a small hood replaces a purchase of new sensors. Another homeowner finds one receiver stays dark even on a good wire. That points to a dead sensor, and a matched pair is the sensible spend.
Call a pro if you smell burning, see scorched wiring, or the door is crooked. Also call one if you’ve followed every step and the door still reverses, since the opener’s logic board or travel sensor may be the real problem.
Frequently Asked Questions
How do I reset a garage door sensor?
Unplug the opener for about a minute, then plug it back in. If your opener has a battery backup, wait up to 15 minutes. After that, re-aim the sensors until both lights glow steady. Resetting clears temporary glitches but won’t fix a broken wire or a dirty lens.
Why is my garage door sensor blinking?
A blinking light usually means the beam is weak or the sensor is slightly out of line. Clean both lenses, check for a bumped bracket and tighten it. On some brands, blinking can also signal a wiring fault, so check your manual. If the light keeps flashing after alignment, inspect the wire at the terminal for a loose connection.
Why is the yellow light on?
Amber on the sending eye is normal on many LiftMaster and Chamberlain units. It simply shows power. The receiving eye is the one to watch, since it should glow steady green when aligned. If your sender is amber and the receiver is green, you’re fine. Check your manual to confirm your model.
Why is the green light off?
The receiver has lost power or the beam. Check the wire running to that sensor, look for a pinched staple and reseat it at the terminal. If the wire is good, try the swap test described in the wiring section. A dark receiver with a good wire often means the sensor itself has died.
Can I replace just one sensor?
Technically yes, but I’d replace both. Sensors from the same kit are designed to match in signal and color, and a matched pair avoids a mismatched beam. If one eye is new and one is old, the light colors may not even agree, and you’ll be left guessing which one is misbehaving. Check your manual for compatible models before ordering.
How high should sensors be?
Mount them about 4 to 6 inches above the floor, and no higher than 6. That’s low enough to catch a child or a pet and high enough to avoid snow or splashing. Both eyes must sit at the same height, otherwise the beam may miss the receiver and the door will reverse.
Do sensors work in direct sun?
They can fail. Strong sunlight hitting the receiving eye can overwhelm the infrared beam, especially in the morning or late afternoon. Some older units struggle more than others. A small shade hood or relocating the sensor to the shaded side of the door usually fixes it.
What is the most common cause of sensor failure?
Misalignment from a bump is the most frequent culprit, followed by dirty lenses and damaged wires. It’s a myth that sensors just wear out quickly. Most of the time they’re fine and simply need a gentle nudge, a wipe or a re-seated wire. Check those three before buying anything.
Why does my door open with the remote but not close?
Opening doesn’t need the safety beam, but closing does. So a blocked, misaligned or unpowered sensor lets the door open and then blocks it from closing. Holding the wall button closes it manually for the night. Then work through alignment, lens cleaning and wiring, in that order. If the door also sags or feels heavy, read our guide to replacing a worn garage door cable before touching anything.
Why does the door go down then back up?
The opener thinks something is in the way. That can be a broken beam, but it can also be a sticky roller, dry grease or force settings that are too tight. Check the sensor lights first, then work through rollers and settings. Don’t bypass the sensors as a shortcut. It often doesn’t work anyway.
Conclusion
So, back to that dark, rainy evening. The door bounces because the opener thinks something is in the way. Most of the time, that something is a bumped bracket, a smudged lens or a sun-blasted receiver, and the rest is rollers, grease or settings. Knowing how to fix garage door sensor trouble comes down to checking in order, cheapest first, and changing one thing at a time.
A quarterly wipe-down of both lenses is a cheap habit that heads off many of these mysteries.
Your next step tonight: wipe both lenses, check the bracket, and watch the receiver light. If you want a broader look at the rest of your entry points, read about hardware swaps on exterior doors or the finishing details around a door frame.
Which of the four buckets do you think your door falls into?