How to Replace Door Handle Hardware Without Drilling New Holes
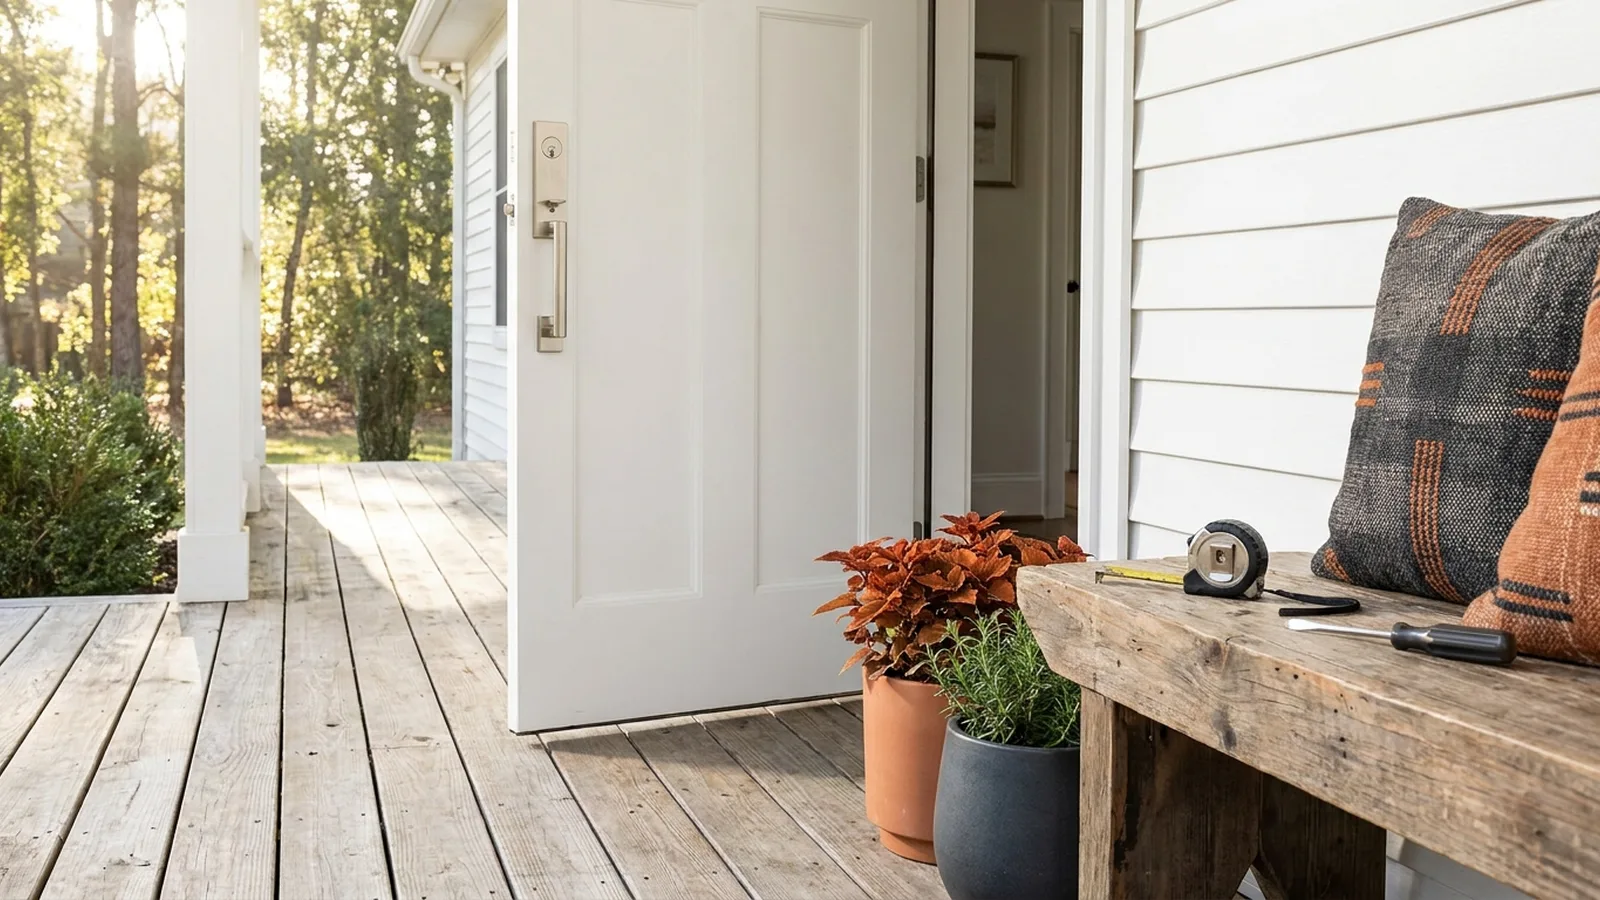
Say you buy a new front door handleset on a Saturday morning, unbox it, and find the bottom screw hole sits half an inch from the old one. The store is 20 minutes away and your door is standing open. The box never mentioned that number.
Most guides on how to replace door handle hardware treat the job as four screws and a smile. For a basic interior knob, that is nearly true. The trouble starts with fit. Backset, bore size and bolt spacing decide whether the swap takes 30 minutes or eats your weekend.
This guide covers house doors, not car handles. Keep the old handle until the new one works. That habit saves more grief than any tool.
Executive Summary
Knowing how to replace door handle hardware is a beginner skill on most interior doors and a patient-beginner one on entry doors. Guides usually quote 30 to 90 minutes per door, and a Phillips screwdriver handles most of it. The real work is buying the right part.
Measure the backset, which is the distance from the door edge to the center of the big hole, and match the function you need: passage, privacy, dummy or keyed entry. Below you will find a fit table, the steps in order, ways to release hidden screws, and a no-drill fix for the mismatched bolt hole that shows up in Reddit threads. You will also see what cost and lock grade really buy you, and why a drooping handle is often a loose screw and not a dead handle.
The biggest worry is "what if I buy the wrong one?" Keep the receipt, check the return window, and measure twice. Most mismatches are fixable.
Can you replace a door handle yourself?
Yes. Most people can replace a door handle themselves in 30 to 90 minutes with a screwdriver and a tape measure. Interior knobs and levers are the easiest. Entry handlesets take longer because of the extra bolts and the deadbolt nearby. The job only gets hard when the new hardware does not match the old holes, so measuring comes first.
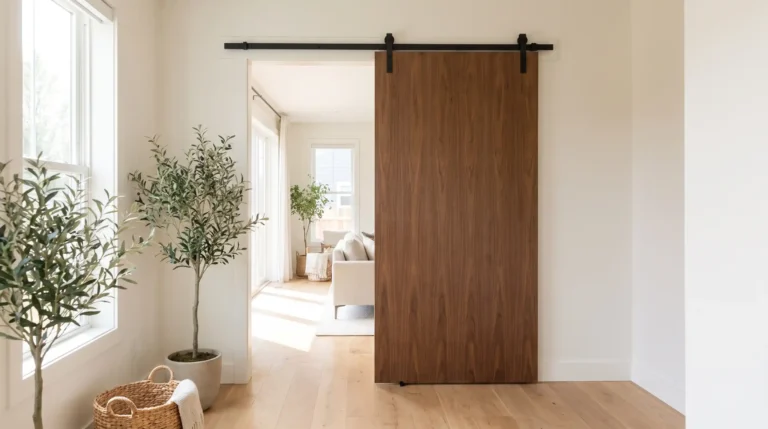
Knowing how to replace door handle hardware is mostly knowing how to measure. If your door is a sliding barn-style panel, it uses a pull and not a latch, so the barn door styles guide is the better read.
A wobbly handle may not need replacing at all. A common handyman fix for screws that just spin is to push a toothpick with wood glue into the stripped hole, let it dry, and drive the screw again.
How do you know which replacement will fit?
Measure three things before you buy: the backset (door edge to hole center), the face bore (the big hole in the door face) and the edge bore (the small hole in the door edge). Most US residential doors use a 2-3/8 or 2-3/4 inch backset, a 2-1/8 inch face bore and a 1 inch edge bore, according to Lowe’s installation guidance.

Family Handyman and Hunker both note that many latches adjust to either size, so look for "adjustable latch" on the box.
| What you have | What must match | Swap difficulty |
|---|---|---|
| Passage or privacy knob or lever | Backset, bores, door thickness | Easy |
| Entry knob with separate deadbolt | Each lock has its own bores | Easy to moderate |
| Handleset (plate plus lever) | Bolt spacing, backset, bores | Moderate |
| Mortise lock | The pocket cut in the door edge | Hard, often a locksmith |
How it was judged: how much of the door the new part must match without cutting.
The cheapest measurement in the world is holding the old latch next to the new one in the store aisle.
How to replace door handle hardware step by step
Remove the old handle’s screws, pull both sides off, slide out the latch, then install the new latch, spindle and handles in reverse order. Test the latch before you close the door. Plan on 30 to 90 minutes for one door, and keep the old parts until everything works.
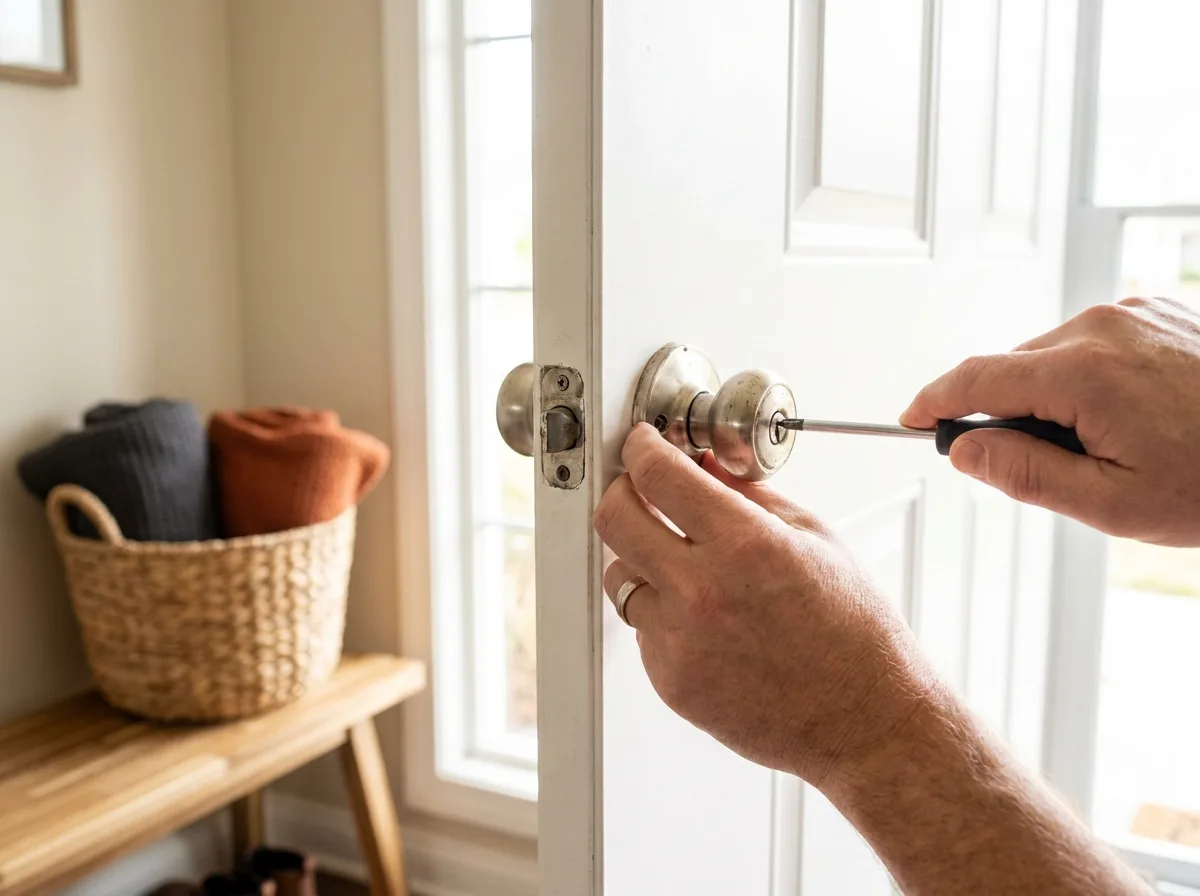
You need a screwdriver and a tape measure. Skip the impact driver, because it chews up small screws. Here is how to replace door handle hardware in order, inside and out:
- Wedge the door open, then remove the screws on the rose (the round cover plate) or handle side.
- Pull both handles straight out, then take out the two edge-plate screws and slide the latch free.
- Hold the old latch against the new one and compare backset and plate shape.
- Slide the new latch in with the angled face toward the door frame. Drive-in latches need a wood block to protect them while you tap.
- Insert the outside handle and spindle (the square bar through the latch), then fit the inside handle and start both screws by hand.
- Snug the screws without cranking them, since too much force binds the spindle.
- Turn the handle ten times, close the door, and check that the bolt clears the strike plate.
How to replace door handle hardware when no screws show
Look for a small slot, pinhole or set screw on the neck of the handle. Press a pin or thin screwdriver into the slot to release it, or loosen the set screw with an Allen key. Then slide the rose off to reveal the mounting screws. A stuck knob on an old door may need to be cut off as a last resort.
Hidden-screw handles come in three common styles. Some hold with a tiny set screw under the neck, others use a spring clip released through a slot, and the rest have a snap-on rose you lift away with a taped flat tool.
Resist the pry bar. If a vintage 1970s knob will not budge, cutting the spindle is the final option.
Can you replace a door handle without changing the lock?
Usually not. Most standard locks do not sell a stand-alone handle, so you replace the full lockset. The exception is a lock whose maker sells matching trim for that exact model. Check the brand and model number on the latch face before you shop. If no matching trim exists, a full swap is the simpler path.
A knob-to-lever swap is trickier on older doors. Mortise locks add a twist, because the spindle can be square or diamond shaped, and a lever from another maker may not fit either. Lever springs are also heavier than knob springs. Posters report that the old mortise body often cannot drive the new lever, so you end up buying a new mortise body, which is a locksmith-level job.
How to replace door handle sets without drilling new holes
Measure the old handleset’s bolt hole spacing, then buy a set with a sliding or adjustable through-bolt. If the spacing still misses, switch to a knob or lever without a lower hole, or plug the old hole with a dowel and paint it. Hold off on drilling anything new until those options fail.

Most guides skip this part. One Reddit thread describes an old handleset with 8 inch spacing, while newer sets run 8.5 to 11 inches and the box rarely prints the number. Posters suggest universal sets with a sliding bolt. Another warning stands out. Never plane or sand the latch edge of a new door to force a fit, because you can ruin the bore.
Take a typical entry door where the old bolt spacing is 8 inches and the new set wants 8.5. You have three moves. Buy a sliding through-bolt set. Pick a lever-only set with no lower hole. Or fill the leftover hole with a glued dowel, sand it flush, then prime and paint it, sealing the plug well on an exterior door.
What does a door handle cost and what is worth paying for?
Reddit posters mention roughly $15 to $30 for basic interior sets and around $120 each for premium brands like Emtek or Baldwin, though prices vary by store and finish. Pay up for the front door and for bedroom or bathroom doors. For a closet or hallway, posters say Schlage or Kwikset is usually fine.

Lock grades help here. This Old House lists Grade 3 at 200,000 cycles and Grade 2 at 400,000, and says Grade 3 is usually fine for a home entry. Off-brand handles draw complaints about flimsy bases and stripped threads. Premium sets feel smoother, but ten doors at the thread price of $120 each adds up to $1,200.
My opinion: skip designer knobs on a closet door, and spend the money on the one latch you hear every day. On a budget, just avoid the bottom shelf.
Why does my new handle sag, stick or not latch?
Most problems after a swap come from three things: a latch installed crooked or backward, screws tightened too hard, or a strike plate that no longer lines up with the bolt. Loosen the screws, recheck the latch direction, and mark where the bolt hits the plate before you file or move anything.
A common version of this mistake goes like this. Someone cranks every screw tight, the spindle binds, and the handle stops springing back. Backing the screws off half a turn often fixes it. If the bolt misses the strike plate, the door may have sagged, so check the hinge screws first. A dry graphite lubricant helps a sticky latch.
When should you call a locksmith or replace the door?
Call a locksmith for mortise locks, a broken spindle you cannot remove, or a lock that will not work after you reinstall it on an entry door. Replace the door itself when the bores are blown out or the edge is split, since no handle can fix a damaged door.
If your door is a garage door, see the garage door cable replacement guide instead, since spring tension makes that a different kind of job. A handle is a forgiving project. Bigger swaps like furnace replacement are licensed-pro territory in many areas, and permit rules and local codes vary.
Frequently Asked Questions
Are door handles hard to replace?
No, for most interior doors the job is simple. You remove two or three screws, pull the old handle and slide in the new one. Entry sets take longer because of the extra bolts and deadbolt. The hard part is matching the new set to the old holes, so measure first and keep your receipt.
Do all door handles fit all doors?
No, and that is the biggest myth in this job. Backset, bore size, door thickness and bolt spacing all vary. Most US doors use a 2-3/8 or 2-3/4 inch backset, but handlesets add bolt spacing and mortise locks need their own pocket. Always compare the old part to the box.
Can I just replace the knob and keep the rest?
Usually not. Most standard locks do not sell a stand-alone knob, so the full lockset gets replaced. A few brands sell matching trim for specific models, so check the model number on the latch face before you shop. If no matching trim exists, a full replacement is the easier path.
How long does it take to replace a door handle?
Guides quote 30 to 90 minutes for one door, and DoItYourself says 1 to 2 hours. A simple interior swap with matching holes lands at the short end. Hidden screws, stripped heads, a mismatched backset or a plugged hole add time, so allow an extra hour if you are new to it.
What is a backset?
Backset is the distance from the door edge to the center of the large hole that holds the handle. Most US doors use 2-3/8 or 2-3/4 inches. Measure it with a tape before you shop, since it decides whether the latch reaches the hole. Many new latches adjust to either size, which makes the store trip much safer.
Can I replace the handle but keep my key?
Sometimes. Some locks can be rekeyed to match a key you already use, and a locksmith can fit a new cylinder to an existing key. Read the box before you buy to see whether rekeying is offered. A new lockset normally ships with its own keys, so matching old keys is a convenience and not a requirement. For an old or custom lock, ask a locksmith.
Do I need to remove the door from its hinges?
No. A handle swap works with the door hanging in place. Wedge it open and work from both sides so it cannot swing. You only take the door off its hinges to bore new holes or repair a split edge, which is rare for a plain swap and a bigger job than most people want.
Is a lever better than a knob?
Neither wins on every door. Levers are easier to grip with wet hands, and many lever sets need no lower hole, which helps with a misaligned bolt. Pick a lever for easy use or a no-drill fix, and a knob if it matches the look you want. Remember that a knob-to-lever swap on an older mortise lock may need a new lock body.
How do I fill the old hole if the new handle is smaller?
Plug the hole with a wood dowel and glue, sand it flush, then prime and paint. A cover plate hides it faster, and wood filler works for small gaps. On an exterior door, seal the plug well, because a poor fill leaks air, and winter drafts will find it quickly.
Do tighter screws make a better fit?
No, and that myth causes many sticky handles. Tightening past snug bends the rose, binds the spindle and keeps the latch from springing back. Tighten until the handle sits firm, then test the spring. If it drags, back the screws off a half turn and test again.
Conclusion
The lesson in how to replace door handle hardware is that the screwdriver is the easy part and the measuring is the job. Get the backset, bores and bolt spacing right, and the rest is a quiet half hour.
The twist is that you rarely need to drill. A sliding through-bolt, a lever without a lower hole or a painted dowel plug solves most mismatches. So the Saturday scenario above ends well, with the old handle kept until the new one passes the ten-turn test.
Your next step is simple. Grab a tape measure, pull one old latch, and write down three numbers.
Which door in your house is about to reveal the number that surprises you?